
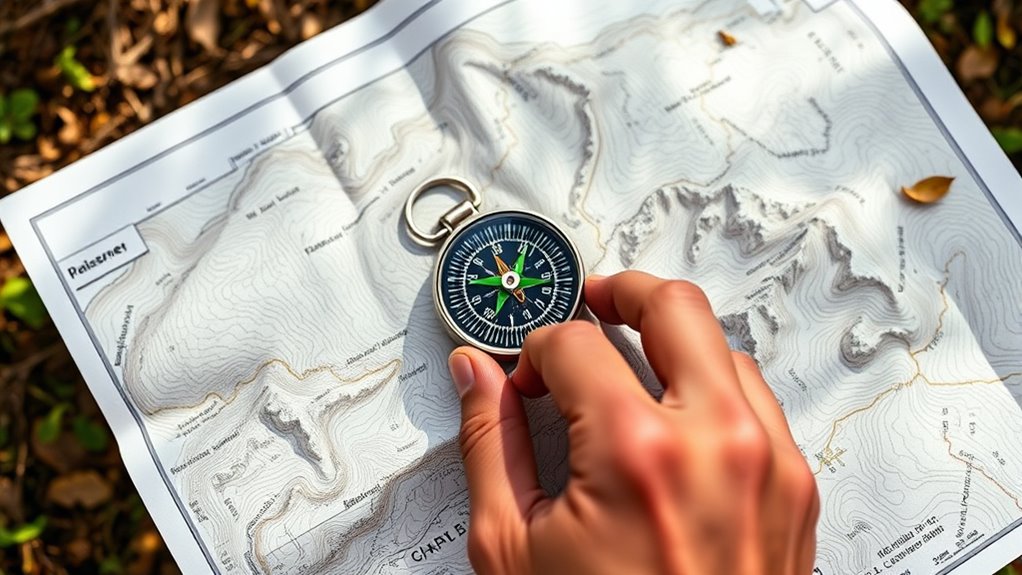
To navigate as a hiker, learn to interpret topographic maps by understanding symbols, contours, and scales that show terrain features. Use a compass to take bearings, align the map with your surroundings, and verify locations with landmarks. Combining these skills allows you to plan routes, estimate distances, and stay oriented. Mastering map and compass basics helps you travel confidently and safely; keep exploring, and you’ll discover more techniques to enhance your navigation skills.
Key Takeaways
- Learn to read topographic maps, including symbols, contours, and scale, for accurate terrain visualization and route planning.
- Use a compass to take bearings, align with map north, and navigate along planned routes effectively.
- Recognize landmarks and terrain features to confirm your location and improve orientation in the field.
- Practice matching natural features with map symbols to reorient and verify your position during the hike.
- Plan routes considering terrain and distance, estimating travel time and practicing navigation techniques regularly.
Understanding Topographic Maps
Topographic maps are essential tools for hikers because they show the land’s shape and features in detail. You’ll notice map symbols that represent natural and man-made features, like lakes, trails, and buildings, helping you identify key landmarks. Contour lines are vital; they connect points of equal elevation and reveal the terrain’s steepness and shape. Close contour lines indicate steep slopes, while wide-spaced lines show gentle slopes or flat areas. Understanding these lines allows you to visualize hills, valleys, and ridges before stepping onto the trail. By familiarizing yourself with map symbols and how contour lines depict elevation, you’ll better interpret the landscape, plan your route, and navigate confidently through diverse terrains. Additionally, map literacy is a crucial skill for ensuring safe and effective navigation in unfamiliar environments.
Reading Map Symbols and Legends
To navigate effectively, you need to understand the map symbols and legends that explain what each icon and line represents. Legend interpretation is key to decoding your map quickly and accurately. The legend provides symbols for features like trails, water, and landmarks. Recognizing these symbols helps you plan your route and avoid surprises. Here’s a quick reference:
| Map Symbol | Meaning |
|---|---|
| Blue line | Water feature |
| Dashed line | Trail or footpath |
| Green area | Forested land |
| Map Symbol | Meaning |
| Black square | Building or structure |
| Circle | Water body (lake, pond) |
| Contour lines | Elevation changes |
Mastering map symbols ensures confident navigation through any terrain.
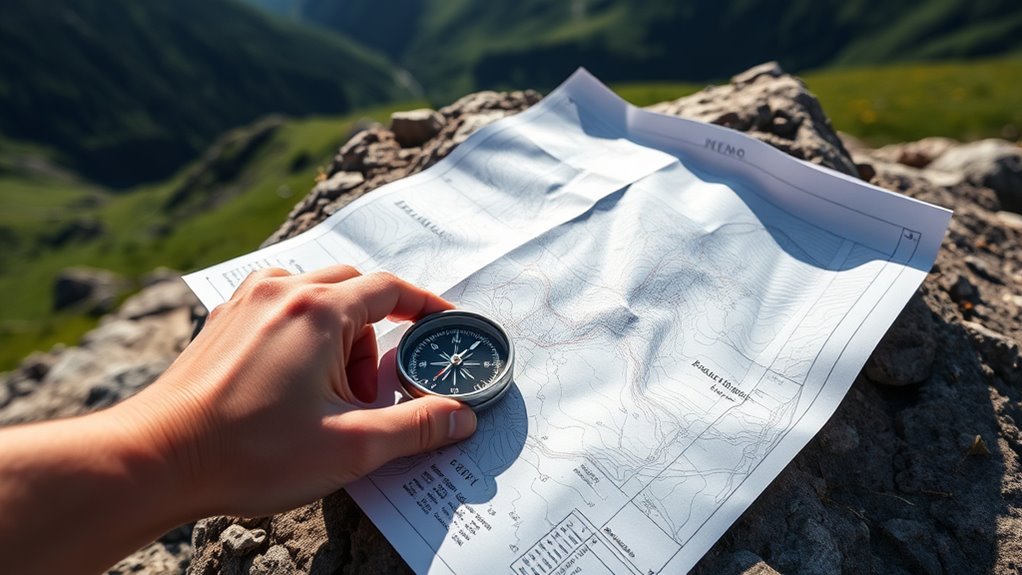
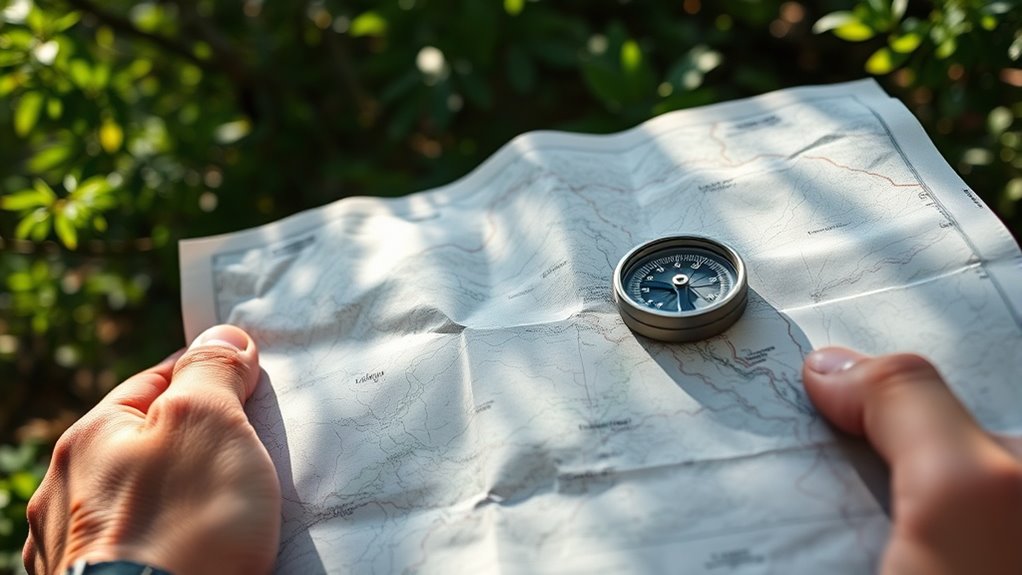
Orienting Your Map to the Terrain
To accurately orient your map to the terrain, start by recognizing prominent landmarks around you. Next, match these features precisely with your map’s symbols and terrain details. Finally, use your compass to align the map’s north with the actual direction, ensuring everything lines up correctly. Additionally, understanding the importance of map calibration can help improve the accuracy of your navigation.
Recognize Landmarks Effectively
Recognizing landmarks effectively is essential for accurately orienting your map to the terrain. You’ll want to focus on visual landmark recognition, which involves quickly identifying prominent features around you, like distinctive rock formations, streams, or tree clusters. Terrain feature identification helps you connect these landmarks with your map, ensuring you understand your position. To do this, look for unique shapes, sizes, and patterns in the landscape that match your map’s details. Sharp awareness of these features prevents confusion and keeps you confident in your navigation. Practice visual landmark recognition regularly, especially in varied environments, so you can rely on your observations when terrain details are less obvious. Being familiar with specific dog breeds can also aid in recognizing certain animal tracks or features that resemble your pet, enhancing your terrain awareness. Mastering these skills boosts your ability to orient your map accurately and move safely through unfamiliar terrain.
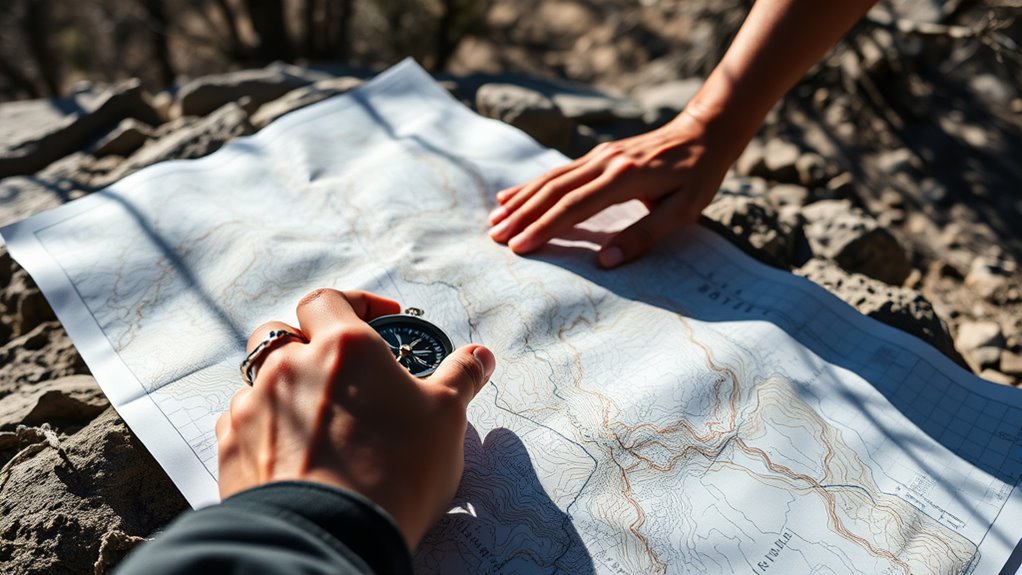
Match Map Features Precisely
Matching map features precisely is essential for accurately orienting your map to the terrain. Start by identifying terrain features like ridges, valleys, streams, and clearings on the ground. Then, compare these features to your map, paying close attention to the map symbols that represent different terrain types. Look for prominent landmarks and match their shapes and positions with what you see around you. Confirm that features align correctly in both location and shape before proceeding. This careful matching helps you confirm that your map is correctly oriented, reducing errors later on. Additionally, recognizing the unique characteristics of water features can greatly improve your accuracy when matching streams and lakes to your map. By focusing on terrain features and understanding map symbols, you can confidently relate the map to the real-world landscape, establishing a solid foundation for your navigation.
Use Compass for Alignment
Using your compass is a vital step in aligning your map with the terrain. First, verify your compass is properly calibrated, meaning it’s free of any magnetic interference and functioning correctly. To get accurate readings, adjust for magnetic declination— the difference between magnetic north and true north— specific to your location. Set your compass to the local declination value, which you can find on a topographic map or online. Then, hold the compass flat, turn your body until the compass needle aligns with the orienting arrow, and rotate your map so that its north aligns with the compass needle. This process guarantees your map accurately reflects the terrain, making navigation safer and more precise. Ensuring your compass has a clear and unobstructed magnetic field is essential for precise magnetic navigation.
Using a Compass to Find Bearings
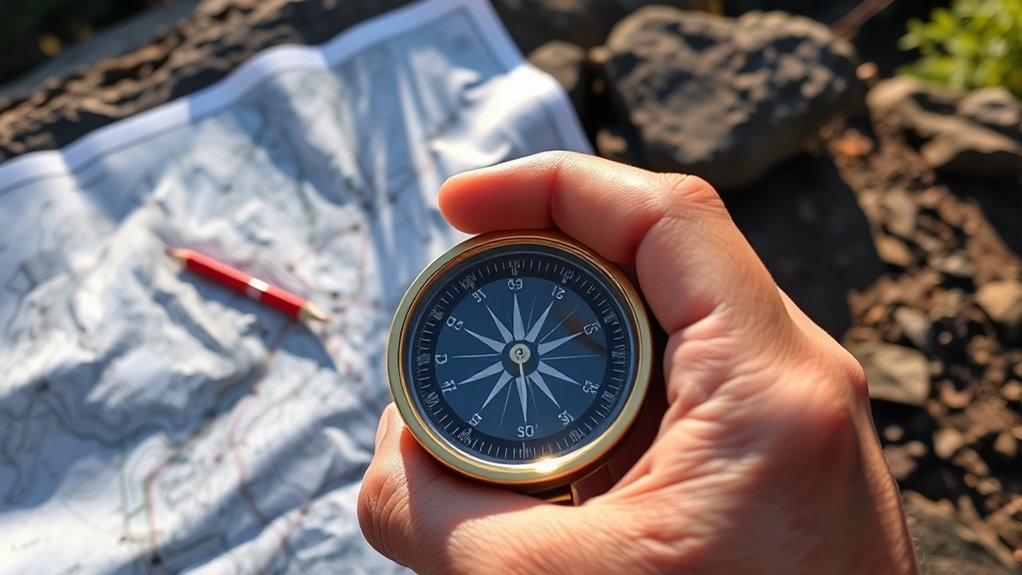
To find your bearing with a compass, start by holding the device flat in your hand so the housing can rotate freely. Align the direction-of-travel arrow with your intended path. Before reading the bearing, verify your compass is properly calibrated, especially if you’ve traveled to a different region, accounting for magnetic declination—this adjusts for the difference between magnetic north and true north. Turn the compass housing until the magnetic needle aligns with the orienting arrow, keeping the needle stable. Read the bearing where the index line intersects the compass dial. Remember, magnetic declination varies by location, so adjust your bearing accordingly for accuracy. This process helps you determine a precise heading, ensuring you stay on course during your hike. magnetic declination can change over time and location, so it’s important to update your knowledge for reliable navigation.
Taking and Following a Bearing
Taking and following a bearing allows you to navigate confidently through unfamiliar terrain. To do this, you start by estimating the distance you’ll need to travel, which depends on terrain interpretation and your map reading. Measure the bearing accurately with your compass, ensuring it’s aligned with your map’s grid or a known landmark. When moving, keep your compass steady and follow the needle, adjusting your direction as needed. As you progress, use terrain features like slopes, ridges, or water bodies to verify you’re on course, but avoid relying solely on landmarks. Regularly recheck your bearing to stay on track. This method combines precise distance estimation and terrain interpretation, helping you stay oriented even when landmarks are scarce or obscured. Understanding navigation principles enhances your ability to adapt and stay on course when terrain or visibility conditions change.
Navigating With Landmarks and Terrain Features
When traversing through unfamiliar terrain, recognizing and using natural features can be invaluable. Visual landmarks like distinctive trees, rock formations, or rivers help you stay oriented without constantly referencing your map. Terrain recognition involves understanding how landforms such as ridges, valleys, and slopes relate to your route. By identifying these features, you can confirm your location and make adjustments if needed. Look for prominent features that stand out from the surroundings and remember their positions relative to your intended path. Using landmarks effectively reduces reliance on tools and keeps you aware of your environment. As you navigate, keep an eye out for natural cues that match your map, and use terrain recognition to stay confident in your position. Additionally, understanding how to interpret glider types and reviews can enhance your overall awareness of the environment and safety considerations.
Planning Your Route and Estimating Distance

When planning your hike, using topographic maps helps you see elevation changes and terrain features clearly. Calculating your travel time based on distance and terrain guarantees you stay on schedule and stay safe. With these tools, you can create a realistic route that matches your pace and experience level. Incorporating knowledge of sound vibrations can also help you understand how different environments might affect your perception and awareness during the hike.
Using Topographic Maps
Using topographic maps is essential for planning your route and estimating how long your hike will take. The map’s symbols quickly identify features like trails, water sources, and landmarks. Contour lines depict elevation changes, helping you understand terrain difficulty. Close lines indicate steep slopes, while wider spacing shows gradual climbs. To visualize this, consider the following:
| Map Feature | Description |
|---|---|
| Map Symbols | Icons representing trails, roads, water |
| Contour Lines | Lines showing elevation and slope steepness |
Calculating Travel Time
Calculating your travel time is a vital step in planning a hike, as it helps you set realistic expectations and guarantee safety. To estimate your pace, consider these factors:
- The terrain’s difficulty—flat trails are faster, while steep or rocky paths slow you down.
- Your fitness level—more experienced hikers can maintain a steady pace longer.
- Weather conditions—rain, wind, or heat can affect your speed.
- Be aware that narcissistic traits such as overconfidence or underestimating challenges can also influence your judgment and planning accuracy.
Start by estimating your usual pace over flat terrain, then adjust for elevation and trail conditions. Use these estimates to plan breaks and allocate extra time for unforeseen delays. Remember, it’s better to overestimate travel time than to rush and risk safety. Always be ready to adjust your travel time as conditions change.
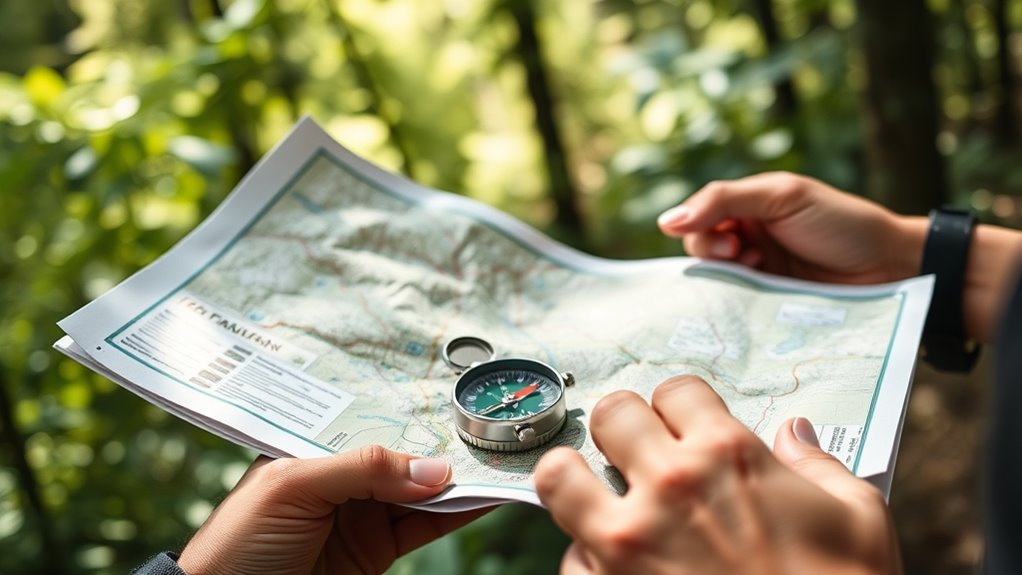
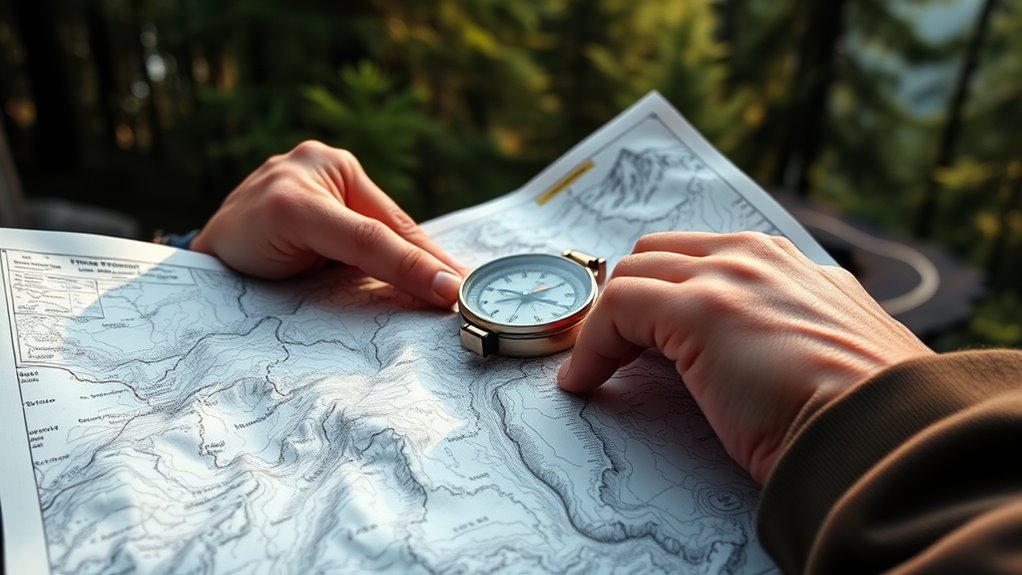
Combining Map and Compass Skills for Effective Navigation
Successfully orienting with a map and compass requires integrating both tools to confirm your position and chart your course accurately. First, verify your compass is properly calibrated, especially if you’re using a magnetic compass, to avoid errors from local magnetic declination. Understand the map scale thoroughly so you can translate distances accurately on the terrain. When combining skills, start by pinpointing your location on the map using visible landmarks and terrain features. Then, use your compass to take bearings from these points, double-checking the direction with your map. Cross-referencing your compass readings with your map’s features helps confirm your position. Implementing a risk assessment approach can help identify potential navigation errors before they occur, increasing safety during your hike. This combined approach minimizes errors and ensures you stay on course, making navigation more effective and confident.
Practicing and Refining Your Navigation Techniques

Practicing your navigation techniques regularly helps build confidence and sharpens your skills in real-world situations. To improve, focus on key areas like map orientation and terrain recognition. Start with these exercises:
- Visualize the landscape and compare it to your map, ensuring you can align features quickly.
- Identify landmarks such as ridges or streams to confirm your position during hikes.
- Practice reorienting your map while moving, using terrain features to keep your bearings.
- Incorporate terrain recognition skills to better interpret natural features and enhance your navigation accuracy.
Frequently Asked Questions
How Do I Choose the Right Map and Compass for My Hike?
To choose the right map and compass for your hike, consider your trail’s size and difficulty. Pick a map with an appropriate map scale—larger scales show more detail for shorter hikes, while smaller scales cover larger areas. Check the map legend to understand symbols and terrain features. For the compass, select a sturdy, easy-to-read model. Ensuring your gear matches your hike’s complexity helps you stay safe and confident.
What Should I Do if My Compass Needle Is Stuck?
If your compass needle is stuck, first check for magnetic interference from nearby metal objects or electronic devices. Move away from these sources and gently try to calibrate your compass again by rotating it in a figure-eight motion. If it remains stuck, consider replacing or repairing the compass, as inaccurate readings can be dangerous. Always verify your compass is properly calibrated before setting out on your hike to avoid navigation issues.
How Can I Tell if My Map Is Outdated or Inaccurate?
You can tell if your map is outdated or inaccurate by checking for recent updates or changes in the terrain, landmarks, or trails. Compare it with current satellite images or GPS data to confirm its accuracy. If features look different or are missing, your map likely needs updates. Always use the latest version available, as map accuracy is essential for safe navigation. Keeping your maps current helps you avoid surprises on the trail.
What Are Common Mistakes Beginners Make With Navigation?
Avoid poor orientation and incorrect scale mistakes by double-checking your map’s details before heading out. Many beginners rush, leading to misreading landmarks or misaligning their compass, which can throw off your entire route. Stay attentive, constantly compare your surroundings with your map, and verify the scale for accuracy. A small oversight now can turn into a big problem later—so stay alert, and don’t let simple errors trip you up.
How Do Weather Conditions Affect Map and Compass Use?
Weather impact can considerably affect your map and compass use. Heavy rain, fog, or snow reduce visibility challenges, making it harder to see landmarks or read your map accurately. Wind can also shift your compass needle, leading to errors. To stay on track, you should regularly check your bearings, use a compass with a liquid-filled housing for stability, and be prepared for changing conditions by carrying extra gear and adjusting your navigation techniques accordingly.
Conclusion
Just like Odysseus relied on his map and compass to navigate uncharted waters, you hold the tools to confidently explore the wilderness. With practice, you’ll master reading maps, taking bearings, and recognizing terrain features. Remember, every successful hike is a journey of discovery—trust your skills, stay alert, and enjoy the adventure. Before long, you’ll navigate with the ease of a seasoned explorer, turning every trail into a story worth telling.