To clean your child’s car seat step-by-step, start by gathering supplies like mild soap, a soft brush, vacuum, and disinfectant. Remove the seat from your vehicle, then detach the cover and padding carefully. Vacuum and shake out any loose debris, pre-treat stains, and clean all plastic and metal parts with gentle cleaners. Allow everything to dry thoroughly before reassembling and conducting a safety check. Keep going to find out more tips for a thorough, safe clean.
Key Takeaways
- Disassemble the seat by removing covers, padding, and accessories following manufacturer instructions.
- Vacuum and shake out debris from all surfaces before deep cleaning.
- Use appropriate cleaning products to treat stains and clean fabric, plastic, and metal parts carefully.
- Allow all components to dry completely to prevent mold and odors.
- Reassemble the seat securely, inspecting all safety features before use.
Gather Your Cleaning Supplies and Prepare the Area
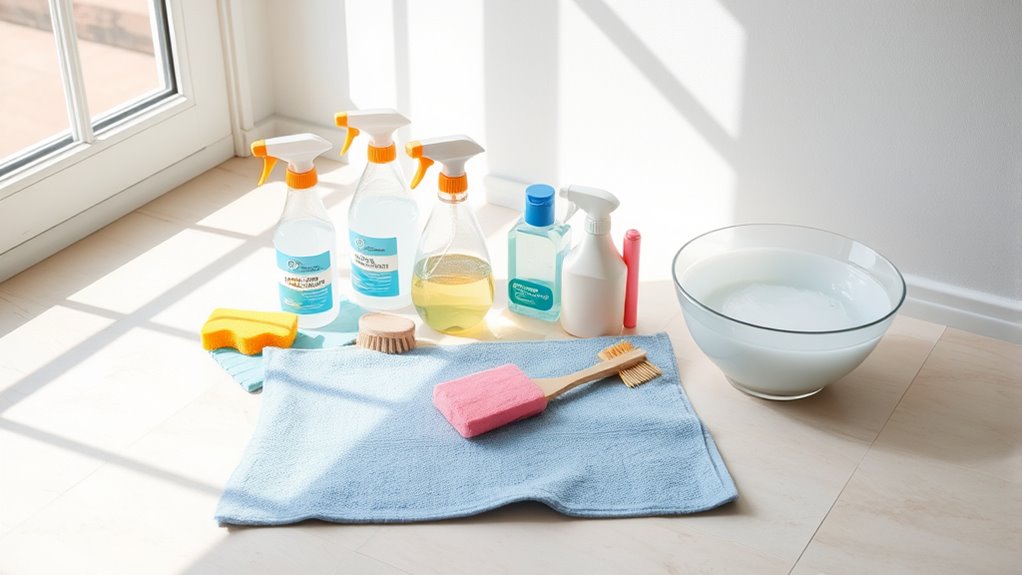
Before you begin cleaning your child’s car seat, gather all the necessary supplies to make the process smooth and efficient. Your cleaning supplies should include mild soap, a soft brush or cloth, a vacuum cleaner, and disinfectant spray. Set up a designated preparation area where you can lay out everything and work comfortably. Choosing a well-lit, clutter-free space will help you stay organized and avoid missing any essential items. Having everything ready beforehand prevents interruptions once you start cleaning. Make sure all cleaning supplies are within reach, and check that your tools are suitable for the material of the car seat. Proper preparation guarantees you can clean thoroughly without rushing, keeping your child’s safety and comfort in mind. Additionally, understanding the appropriate cleaning methods for different materials can help prevent damage and ensure effective sanitation.
Remove the Child Car Seat From the Vehicle
Start by detaching the car seat carefully and securely from the vehicle’s anchor points. Make sure to check for any remaining attachments or straps to avoid damage or mishaps. Taking your time now helps guarantee a smooth and safe removal process. Also, consult the Legal Information on proper procedures to ensure compliance and safety during removal.
Detach Securely and Safely
To remove the child car seat from your vehicle safely, first guarantee the vehicle is parked on a flat, stable surface and the engine is turned off. Follow these safety precautions to prevent injury: 1. Unbuckle the harness straps and remove any accessories attached to the seat. 2. Locate and release the LATCH connectors or seatbelt lock-offs, depending on your attachment method. 3. Carefully lift the seat out of the vehicle, supporting it with both hands. Ensuring proper space management can make the removal process smoother and safer.
Check for Remaining Attachments
Have you checked the area around and beneath the seat for any remaining attachments? Before removing the child car seat, ensure the seat belt is completely unbuckled and free from any tangles. Look for clips, latch connectors, or harness adjustment straps that might still be attached or tangled. Verify that the harness adjustment mechanism is fully released if it’s still connected to the vehicle. Carefully inspect the seat’s sides, beneath, and around the base to confirm nothing is holding it in place. Removing the seat without checking for these attachments can cause damage or make reinstallation difficult. Take your time to double-check all connections so you’re confident the seat is fully detached and ready for cleaning. Additionally, inspecting the attachment points can help prevent accidental damage or safety issues during cleaning.
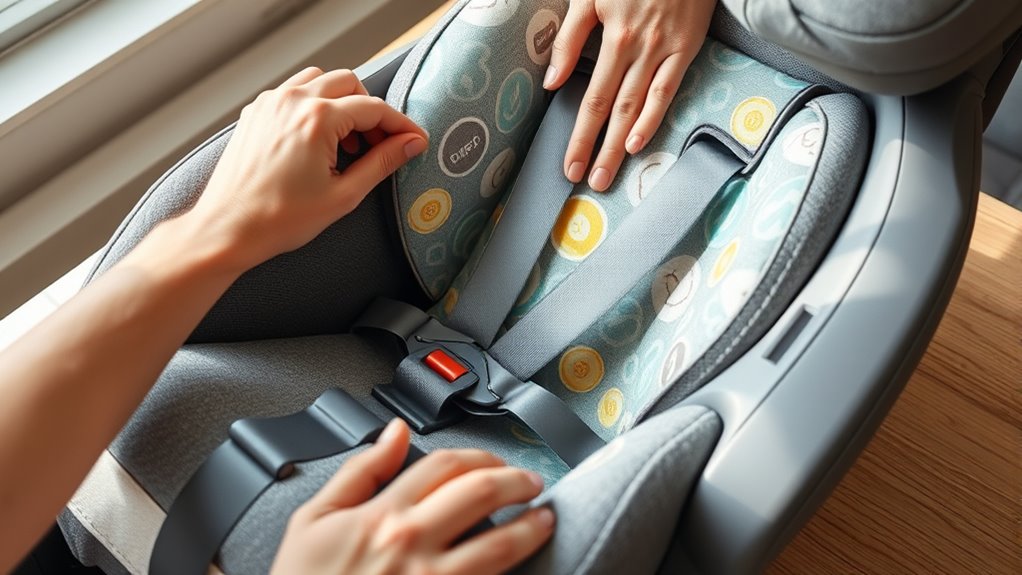
Detach the Removable Cover and Padding
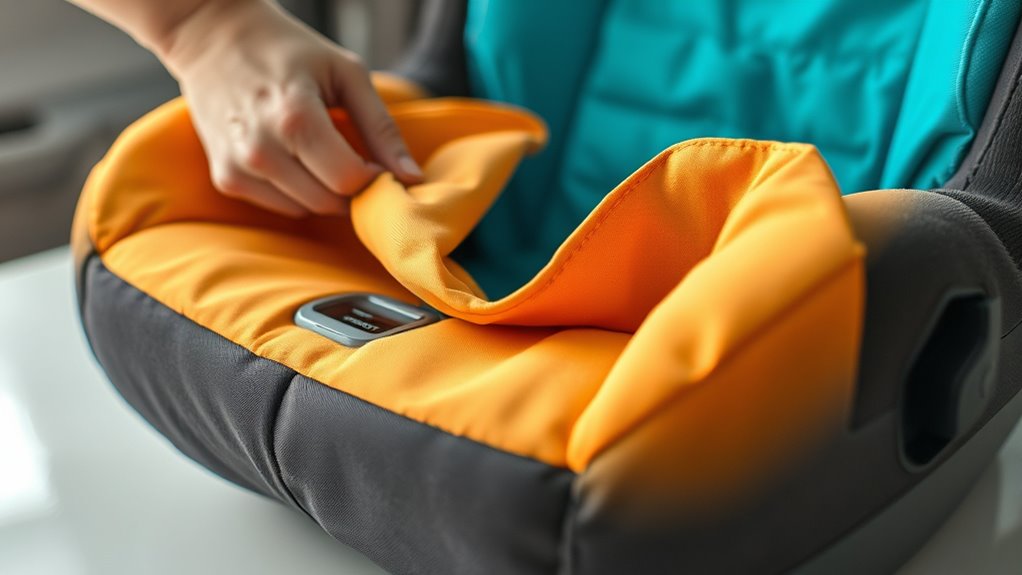
Carefully remove the cover and padding to avoid tearing or damaging them. As you do, check for any stains or signs of wear that might need special attention. This step helps guarantee your car seat stays clean and safe for your child. Additionally, inspecting these components allows you to identify any areas that may require cleaning or replacement to maintain optimal safety and comfort. Safety inspection
Remove Carefully and Safely
Before removing the cover and padding, make sure you understand how they are attached to avoid tearing or damaging any parts. Proper removal is vital to maintaining child safety and guaranteeing the seat stays correctly installed. To do this safely:
- Carefully consult the manufacturer’s instructions to identify attachment points.
- Gently detach the cover and padding, avoiding force that could cause tears or misalignments.
- Keep all parts organized to prevent losing clips or fasteners that are essential for secure seat installation later.
- Be aware of attachment mechanisms that secure the cover and padding to ensure proper reassembly.
Taking your time ensures the cover and padding come off without damage, helping you maintain the integrity of the seat’s safety features. This careful approach keeps your child’s seat properly installed and secure for every ride.
Check for Stains and Damage
How can you tell if your child’s car seat cover and padding need attention? Start by inspecting for stains that may require stain removal, such as juice, mud, or food spills. Look closely at the fabric for discoloration or stubborn spots that don’t come out easily. Next, perform a damage inspection to identify tears, frayed edges, or weakened areas that could compromise safety. Check the seams, straps, and padding for signs of wear or deterioration. If you notice any stains that won’t lift or damage that could affect the seat’s integrity, it’s time to detach the cover and padding for a thorough cleaning or repair. Regularly inspecting these elements ensures your child’s safety and maintains the seat’s comfort and appearance. Additionally, understanding the importance of safety standards can guide you in assessing whether repairs are necessary.
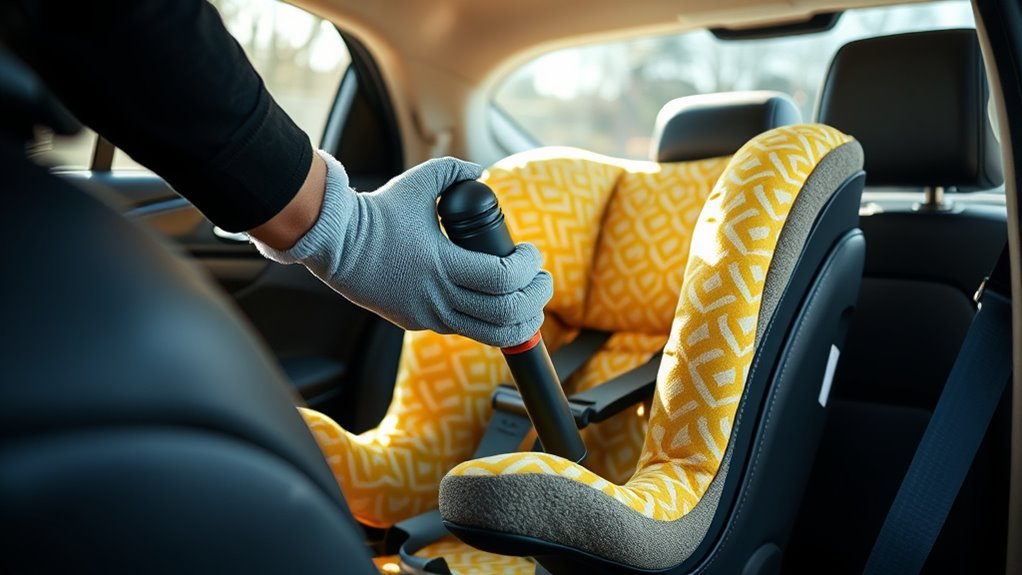
Vacuum and Shake Out Loose Debris
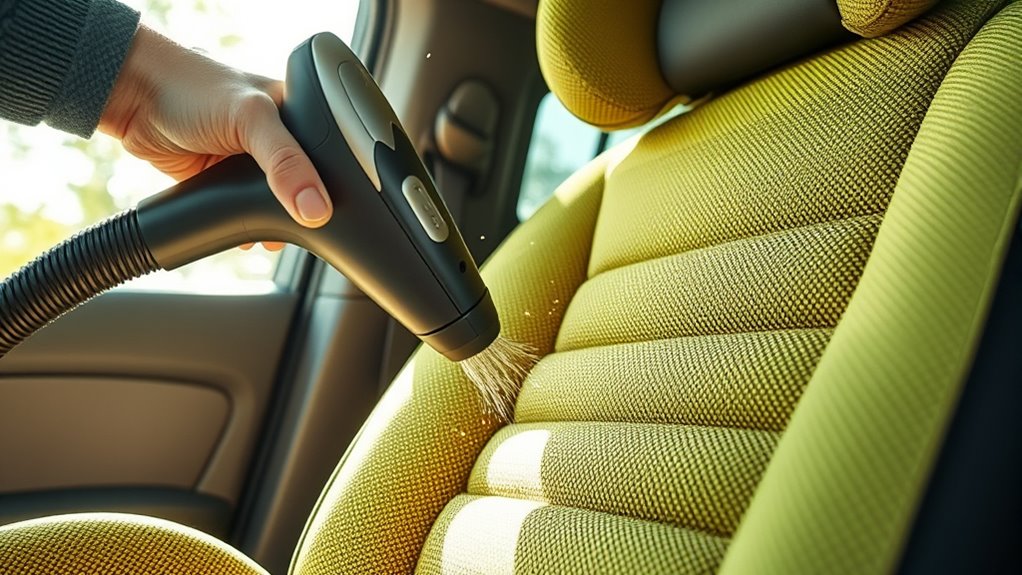
To effectively start cleaning your child’s car seat, you need to remove loose debris first. Begin by thoroughly vacuuming debris from all surfaces, paying special attention to crevices and seams. Next, shake out the seat to dislodge debris hidden deep within the fabric or padding. This helps loosen particles that vacuuming alone might miss. To make the process efficient, follow these steps:
- Use a handheld vacuum or brush attachment to vacuum debris from the seat’s fabric and crevices.
- Shake the car seat gently to loosen and dislodge loose debris trapped in the fabric.
- Remove and shake out removable cushions or covers, if possible, to eliminate hidden dirt and debris.
- For optimal results, consider upgrading your vacuum with specialized attachments designed for upholstery cleaning.
This approach guarantees your seat is free of loose debris before moving on to deeper cleaning.
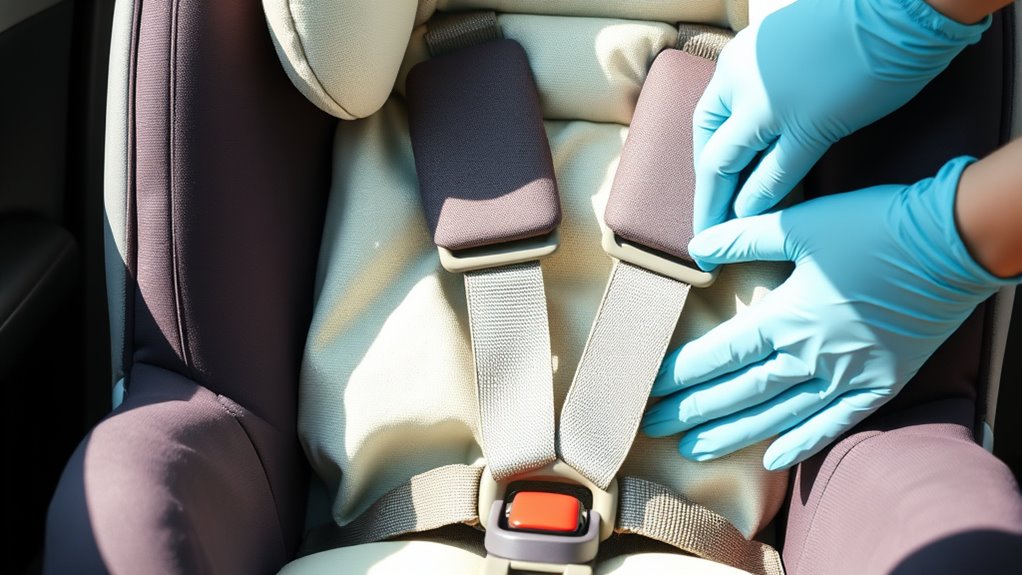
Pre-Treat Stains and Soiled Areas
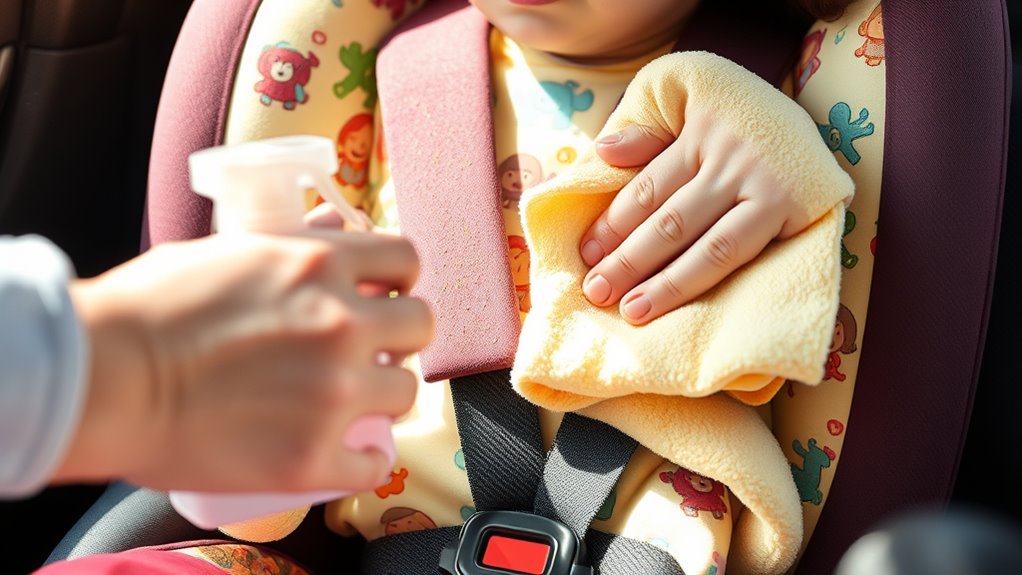
First, identify common stains like juice, mud, or diaper leaks to know what you’re dealing with. Then, select an appropriate stain remover to target those spots effectively. Proper pre-treatment makes the cleaning process much easier and guarantees your child’s seat looks fresh. Incorporating water-resistant fabrics can also help prevent future stains and make cleaning easier.
Identify Common Stains
Have you noticed stains on your child’s car seat that just won’t go away? Identifying common stains helps you choose the right fabric care and prevent future issues. First, look for food and beverage spills like juice or chocolate, which can cause stubborn spots. Second, check for bodily fluids such as drool, sweat, or urine, often leaving yellowish or cloudy stains. Third, spot dirt and mud tracked in from outside, especially on fabric surfaces. Recognizing these stains allows you to act quickly, reducing the risk of permanent marks and odors. Being aware of common stains also helps you prevent future damage by taking proactive steps like using seat covers or wiping down the fabric regularly. Proper identification makes stain removal more effective and keeps the car seat looking fresh. Additionally, understanding the types of stains can guide you in selecting the appropriate cleaning methods to maintain the seat’s integrity.
Use Appropriate Stain Remover
When tackling stains on your child’s car seat, using the right stain remover can make all the difference. Start by selecting appropriate cleaning products designed for fabric or upholstery, depending on your seat’s material. For fresh stains, apply a stain removal technique like blotting gently with a clean cloth before treating the area. For tougher spots, choose an effective stain remover that targets specific stains such as food, juice, or mud. Always read labels carefully to ensure compatibility with your seat’s fabric. Pre-treat soiled areas by applying the product directly and letting it sit for a few minutes. This step helps loosen stains and makes subsequent cleaning easier. Using appropriate cleaning products and stain removal techniques will guarantee your child’s car seat is thoroughly clean and safe. Additionally, selecting Pimple Patches that are suitable for sensitive skin can ensure gentle yet effective treatment if your child has any skin sensitivities.
Wash the Fabric Cover According to Manufacturer Instructions

To effectively clean the fabric cover, always follow the manufacturer’s instructions, as different brands use various materials and cleaning methods. Proper fabric care guarantees the cover remains in good condition and safe for your child. First, check the tags for washing instructions—some covers are machine washable, while others require hand washing or spot cleaning. Second, use a gentle cycle with cold water and mild detergent to protect the fabric’s integrity. Third, avoid harsh chemicals or bleach, which can damage the fabric and reduce its safety features. Additionally, choosing a high-quality cleaning method ensures thorough removal of dirt and allergens without compromising the fabric’s durability. By adhering to the manufacturer’s guidelines, you’ll preserve the fabric’s quality and ensure a thorough, safe cleaning. Always air dry or follow specific drying instructions to prevent shrinking or fabric damage.
Clean the Plastic and Metal Parts
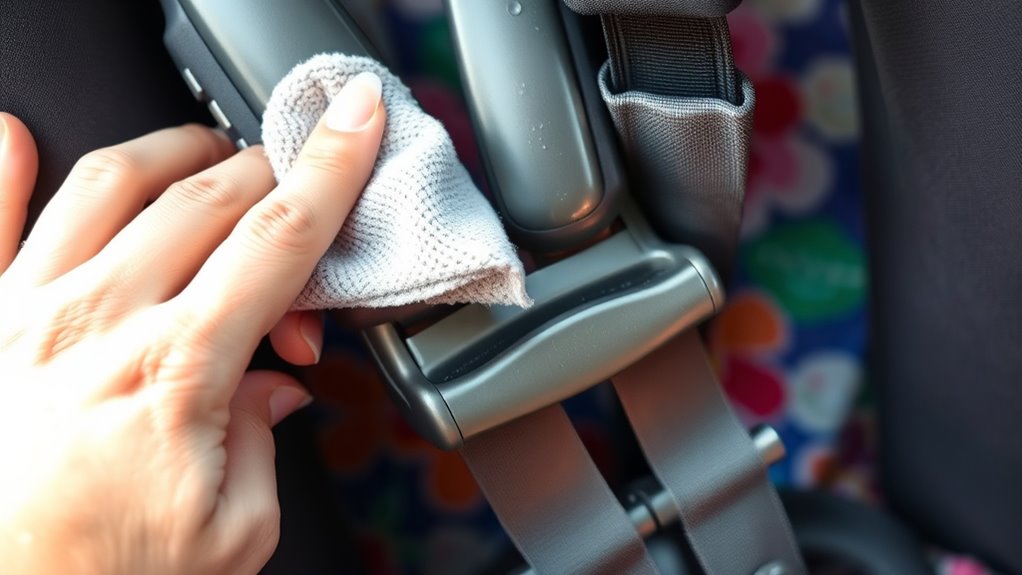
After washing the fabric cover, focus on cleaning the plastic and metal parts of the car seat. For plastic cleaning, use a gentle cleaner and a soft cloth to remove dirt and grime without scratching. Metal part maintenance involves inspecting for rust or corrosion and wiping with a damp cloth. Here’s a quick guide:
| Step | Materials Needed | Tips |
|---|---|---|
| Clean plastic surfaces | Mild soap, water, soft cloth | Avoid harsh chemicals, dry thoroughly |
| Wipe metal parts | Damp cloth, mild cleaner | Check for rust; treat if needed |
| Dry completely | Soft towel | Prevent moisture buildup |
Maintaining these parts keeps the seat safe and extends its lifespan. Regular plastic cleaning and metal part maintenance are essential.
Allow Parts to Dry Completely Before Reassembly

Ensuring all parts are completely dry before reassembling the car seat is essential for safety and durability. The air drying process can take several hours, so plan your cleaning schedule accordingly. Proper drying prevents mold, mildew, and unpleasant odors. To make sure you’re ready for reassembly, follow these steps: 1. Check that all parts feel dry to the touch, especially cracks and crevices. 2. Allow extra time for air drying if humidity levels are high. 3. Avoid rushing the reassembly timing; patience guarantees no moisture remains. Taking into account the vetted information on air drying, following these steps will help ensure your child’s car seat remains safe and in good condition.
Reassemble the Car Seat and Replace the Cover
Once all parts are completely dry, you can begin reassembling the car seat and replacing the cover. Carefully fit the fabric material back onto the seat, guaranteeing it aligns with the original design. Check that all straps, buckles, and connectors are securely in place and match the manufacturer’s instructions. Make sure the cover is smooth and free of wrinkles, which could affect comfort or safety. Confirm that the fabric material meets current safety standards, providing necessary protection and durability. Reattaching the cover properly assures it stays in place during use. Take your time to double-check each component, maintaining the integrity of the seat’s safety features. Proper reassembly guarantees the car seat remains secure and ready for safe use.
Conduct a Safety Check Before Using Again
Before using the car seat again, it’s important to perform a thorough safety check to guarantee everything is properly assembled and secure. Use an inspection checklist aligned with safety standards to ensure the seat is safe for your child. Start by inspecting the harness system: ensure straps are intact, not frayed, and properly adjusted. Next, check the buckles and clips for secure fastening and smooth operation. Finally, verify the seat’s installation: confirm it’s firmly attached to the vehicle with no excessive movement. Make sure all components, including the base and recline angles, meet the manufacturer’s specifications. Conducting this safety check helps identify potential issues early, ensuring your child’s safety and peace of mind every time you hit the road. Additionally, understanding industry trends can help you stay informed about new safety features and best practices.
Frequently Asked Questions
How Often Should I Clean My Child’s Car Seat?
You should clean your child’s car seat at least once a month or more often if spills or accidents happen. Use a gentle detergent suited for upholstery and follow drying techniques that guarantee the seat dries completely to prevent mold. Regular cleaning keeps your child safe and comfortable. Always check the manufacturer’s instructions for detergent selection and drying methods to avoid damage and maintain the seat’s integrity.
Can I Use Bleach or Harsh Chemicals on the Fabric?
You shouldn’t use bleach or harsh chemicals on your child’s car seat fabric. Bleach dangers include weakening the fabric and exposing your child to harmful residues. Instead, opt for gentle, safe alternatives like mild soap or specialized upholstery cleaners. These options effectively clean without risking damage or health issues. Always check the manufacturer’s instructions before applying any cleaner, ensuring your child’s safety while keeping the seat spotless.
Is It Safe to Machine Wash the Entire Car Seat?
You shouldn’t machine wash the entire car seat because it’s not safe for most models. Machine wash safety varies, and many seats have components that could be damaged or compromised. Instead, focus on fabric cleaning methods like spot cleaning with mild soap and water, and follow the manufacturer’s instructions. For thorough cleaning, remove and hand wash fabric parts separately, ensuring you don’t jeopardize the seat’s integrity or safety features.
How Do I Remove Stubborn Stains Effectively?
To remove stubborn stains effectively, start with stain removal techniques like blotting gently and avoiding rubbing. Use cleaning solutions specifically designed for car seats, such as a mix of mild soap and warm water or a fabric-safe stain remover. Apply the solution directly to the stain, let it sit for a few minutes, then scrub gently with a soft brush or cloth. Rinse with clean water and air dry for best results.
What Signs Indicate It’s Time to Replace the Car Seat?
When it’s time to replace your child’s car seat, you’ll notice signs like visible cracks, frayed straps, or a seat that no longer clicks securely into the base. Don’t wait for a disaster—trust your instincts and check the car seat longevity regularly. Follow a safety inspection checklist, and if in doubt, it’s better to be safe than sorry. After all, an ounce of prevention is worth a pound of cure.
Conclusion
Once you’ve reassembled your car seat and given it a thorough safety check, you’re all set to hit the road again. Think of your cleaned seat as a fresh canvas, ready for new adventures. Regular cleaning keeps your child’s seat safe and comfortable, much like tending a garden ensures healthy growth. By maintaining it properly, you’re not just cleaning a seat—you’re safeguarding your little one’s comfort and security every time they ride.