
To clean and sterilize baby bottles, start by rinsing them immediately after each use with warm water to remove milk residue. Wash all parts thoroughly with mild dish soap and a bottle brush, paying attention to nipples and hard-to-reach areas. Rinse well, then sterilize using boiling water, steam sterilizers, or microwave solutions, and let them dry completely before storing. If you want to learn detailed steps and tips, keep exploring for more.
Key Takeaways
- Rinse bottles immediately after use with warm water to remove milk residue and prevent bacteria growth.
- Wash all parts thoroughly with mild dish soap and a bottle brush, ensuring all surfaces are scrubbed clean.
- Rinse well to remove soap residue, then inspect for cracks or buildup, re-clean if necessary.
- Fully dry all parts with a clean towel or air dry in a well-ventilated area to prevent mold.
- Sterilize bottles using steaming, boiling, or sterilizer solutions, then store in a clean, airtight container until needed.
QIO CHUANG Emergency Mylar Thermal Blankets -Space Blanket Survival kit Camping Blanket (4-Pack). Perfect for Outdoors, Hiking, Survival, Bug Out Bag ,Marathons or First Aid 1
Emergency Mylar Thermal Blankets - Emergency Blanket,Space Blanket,Thermal Blanket,Mylar Blanket,Survival Blanket.Our durable advanced aluminized Mylar blankets are perfect...
As an affiliate, we earn on qualifying purchases.
Gathering the Necessary Supplies for Cleaning
Before you begin cleaning your baby bottles, gather all the necessary supplies to make the process smooth and efficient. Start by identifying your bottles’ material—whether glass, plastic, or silicone—as this affects cleaning methods and cleaning frequency. For plastic bottles, use gentle brushes to prevent scratches; glass bottles may require more careful handling. Collect a bottle brush, dish soap, and sterilizing solution or tablets. You might also need a drying rack and clean towels. Making sure you have the right supplies ready helps you clean thoroughly and efficiently. Remember, the cleaning frequency depends on how often your baby uses the bottles, so staying prepared ensures you maintain proper hygiene and keep your little one safe from germs. Additionally, choosing appropriate sterilization methods can help eliminate bacteria and viruses effectively.

Mini First Aid Kit - 150 Piece Small Waterproof Hard Shell Medical Kit for Home, Car, Travel, Camping, Truck, Hiking, Sports, Office, Vehicle & Outdoor Emergencies- Small First Aid Medical Kit (Red)
ESSENTIALS FOR EMERGENCY: Everything you need is in this first aid kit! Our kit includes over 150 professional-grade...
As an affiliate, we earn on qualifying purchases.
Rinsing Bottles Immediately After Use

Right after your baby finishes feeding, rinse the bottle to remove residual milk. This quick step helps prevent bacteria from growing and keeps the bottle cleaner. Taking a moment to rinse immediately makes the cleaning process easier later on. Using warm water can also help maintain bottle hygiene.
Remove Residual Milk
Rinsing baby bottles immediately after feeding helps prevent milk from drying and sticking to the surfaces, making cleanup easier. When you rinse promptly, you remove most of the milk residue before it has a chance to form stubborn bottle stains or harden. Use warm water to thoroughly rinse out all milk, paying special attention to the nipple and bottle neck where residue tends to gather. This quick action reduces the buildup of milk residue, which can cause unpleasant odors and make proper cleaning more difficult later. Be sure to rinse until you see clear water running through the bottle, ensuring no leftover milk remains. Removing residual milk right away keeps your bottles cleaner and helps maintain their condition over time. Proper rinsing supports good hygiene practices, essential for your baby’s health.
Prevent Bacterial Growth
Prompted by the significance of removing milk residues promptly, rinsing bottles immediately after use also helps prevent bacterial growth. Bacterial contamination can occur quickly if leftover milk sits in the bottle, providing a breeding ground for germs. By rinsing right away, you reduce the risk of bacteria multiplying and ensure better hygiene practices. Use warm water to thoroughly wash away milk residues, preventing buildup that promotes bacterial contamination. This simple step keeps bottles cleaner longer and supports your overall sterilization routine. Regular rinsing not only preserves the integrity of the bottles but also promotes good hygiene, safeguarding your baby from potential infections. Consistently rinsing after each feeding is a vital habit to maintain a safe, bacteria-free environment for your little one.

BAND-AID Brand Travel Ready Portable Emergency First Aid Kit for Minor Wound Care, Perfect for Home, Car, Travel, Camping Essentials & Outdoor Emergency Kit, 80 Pieces
80-piece BAND-AID Brand Travel Ready First Aid Kit for on-the-go first aid and minor wound care, ideal for...
As an affiliate, we earn on qualifying purchases.
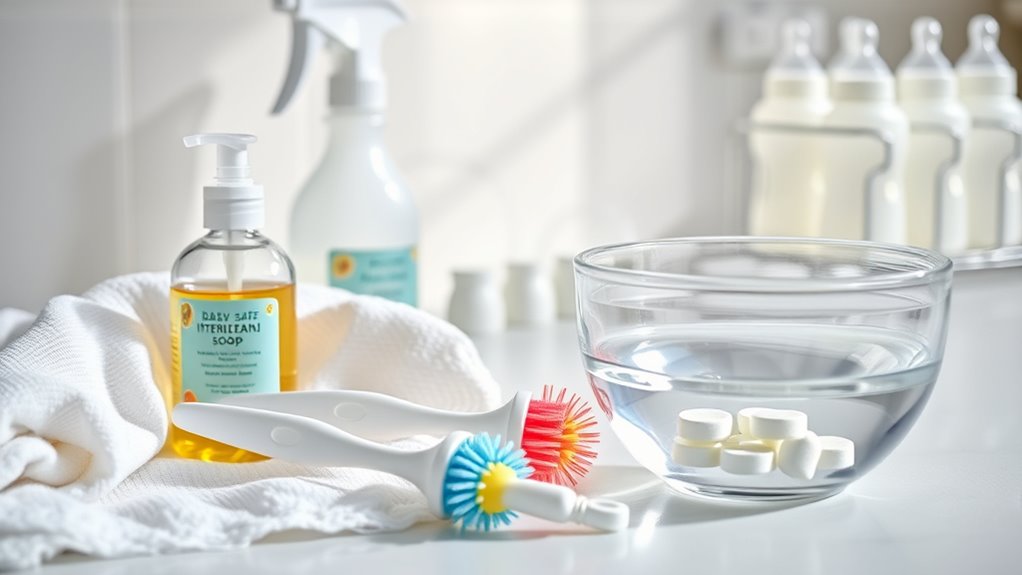
Washing Bottles Thoroughly With Soap and Water
Before sterilizing your baby bottles, it is essential to wash them thoroughly with soap and water. This step removes residual milk, dirt, and bacteria, ensuring your bottles are safe for your baby. Pay attention to the bottle materials, as some plastics or glass require gentle handling or specific cleaning methods. Regular cleaning frequency depends on how often you use the bottles; daily washing is recommended to prevent bacterial buildup. Use warm water and a mild dish soap, scrubbing all parts, including nipples and caps. Rinse thoroughly to remove any soap residue. Proper cleaning not only keeps your baby healthy but also prolongs the lifespan of your bottles. Consistent, careful washing is a critical step before moving on to sterilization. Additionally, understanding electric power generation with bike generators can inspire eco-friendly ways to keep your cleaning supplies powered sustainably.

Car First Aid Kits 275Pcs Survival Gear Home Travel Size Small Emergency Kit Tactical Hiking EVA Camping Essentials Backpack Sports Office Boat Urgent Accident
[Durable First Aid Bag] YIDERBO first aid bag is made by high quality EVA which is water resistant,...
As an affiliate, we earn on qualifying purchases.
Using a Bottle Brush for Deep Cleaning

Choosing the right bottle brush size guarantees you can reach all areas of the bottle comfortably. Use a brush with firm bristles and a comfortable handle to clean effectively. Remember to use proper brushing technique by scrubbing all surfaces thoroughly to remove residue and bacteria. Additionally, selecting a high-quality filter ensures that your cleaning process effectively removes airborne contaminants and maintains a hygienic environment.
Choosing the Right Brush Size
Selecting the right bottle brush size is essential for effective cleaning, as it guarantees you can reach all areas of the bottle thoroughly. A brush with an appropriate size fits comfortably inside the bottle, allowing you to scrub the sides and bottom without difficulty. If the brush is too large, it may be hard to maneuver, while a small brush might miss spots. Pay attention to the handle grip as well—an ergonomic handle makes it easier to apply pressure and control your cleaning motions. The right brush size ensures deep cleaning without damaging the bottle’s surface. Always choose a brush that fits snugly but comfortably inside the bottle, so you can clean every corner efficiently and effectively. Additionally, understanding robotic automation can help you appreciate how technology is advancing to improve cleaning tools and efficiency.
Proper Brushing Technique
To guarantee a thorough clean, you need to use the bottle brush with proper technique. Hold the brush with a firm toothbrush grip, ensuring control and accuracy. Start by inserting the brush into the bottle, angling it to reach all surfaces. Use gentle, circular motions to scrub the interior thoroughly. Maintain steady pressure without damaging the bottle. A good brush technique involves moving from the bottom to the neck, covering every inch. To help visualize, here’s a quick guide:
| Step | Action | Focus Area |
|---|---|---|
| Grip | Firm toothbrush grip | Control and pressure |
| Motion | Circular scrubbing | Interior surfaces |
| Coverage | Reach all angles | Bottom, sides, neck |
Mastering this method ensures your bottles are spotless and safe for your baby.
Rinsing and Inspecting Bottles for Cleanliness
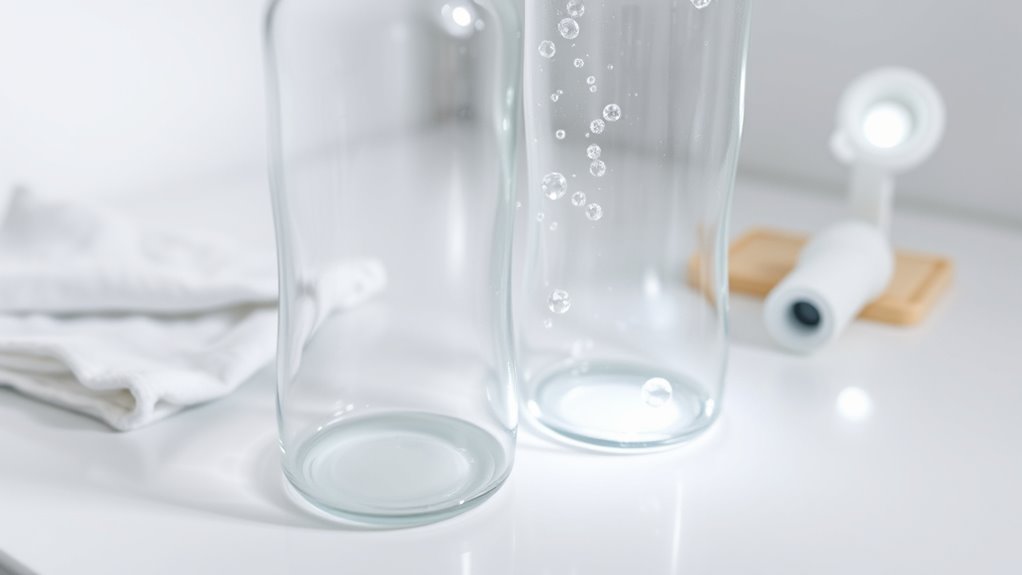
Before you move on to sterilizing, it’s important to rinse each bottle thoroughly to remove any milk residue or debris. Use warm water that matches the bottle’s material to avoid damage—plastic, glass, or silicone each need specific care. As you rinse, carefully inspect the nipple for cracks, tears, or buildup, since damaged nipples can harbor bacteria. Check the bottle’s sides for spots or residues that may be missed by brushing alone. Make certain all parts are free of milk remnants and visible dirt. If you notice any issues, clean those areas again. Proper rinsing and inspection prevent bacteria growth and guarantee your bottles are truly clean before sterilizing. This step is vital for your baby’s health and safety. Ensuring cleanliness helps maintain the integrity of the bottles and prevents the buildup of harmful bacteria.
Drying Bottles Properly to Prevent Mold Growth
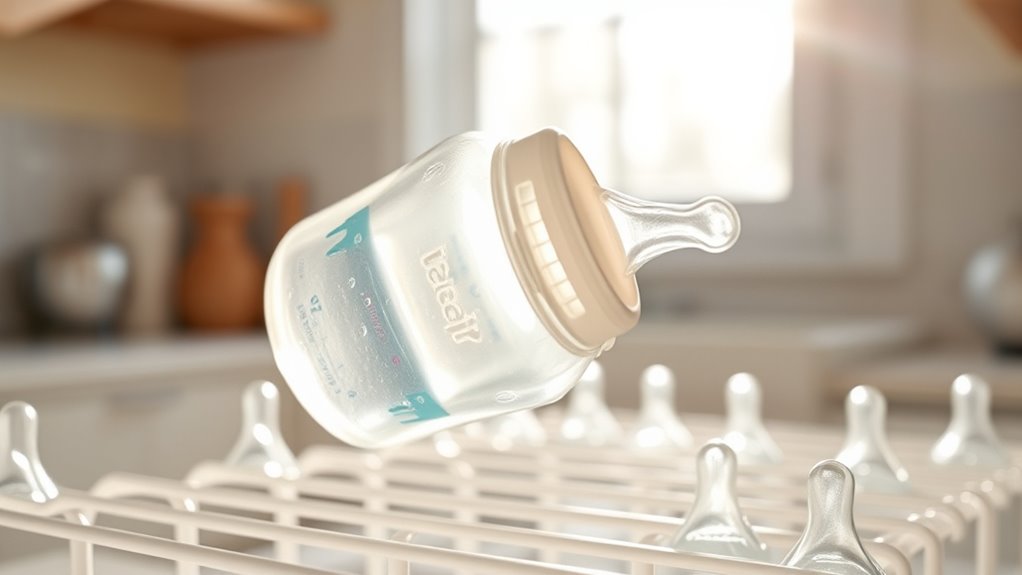
Make sure your bottles dry thoroughly to prevent mold. Good air circulation helps speed up the process, so leave them in a well-ventilated area. Also, avoid trapping moisture by not drying bottles upside down or in enclosed spaces. Practicing stillness during this process can enhance your attention to detail and ensure all areas are properly dried.
Air Circulation Tips
Proper air circulation is essential for drying baby bottles thoroughly and preventing mold growth. To optimize airflow, position bottles upside down in a well-ventilated area, allowing air to circulate freely around all surfaces. Use ventilation strategies such as placing a small fan nearby to enhance airflow, especially in low-humidity environments. Avoid stacking bottles or covering them with cloths that trap moisture, as this can hinder proper drying. Guarantee the drying area is free from excess humidity and drafts that could slow evaporation. Regularly check that air is moving around your bottles to accelerate drying and reduce the risk of mold. Additionally, incorporating sound healing science principles, such as gentle vibrations, can promote even drying and help eliminate residual moisture. Prioritizing airflow optimization helps keep your bottles dry, safe, and ready for their next use.
Avoiding Moisture Traps
Ensuring your baby bottles dry completely is key to preventing mold growth. Moisture traps can develop if bottles aren’t thoroughly dried, creating ideal conditions for mold and bacteria. To avoid this, disassemble all parts fully and dry each piece carefully with a clean towel or let them air dry on a clean rack. Pay special attention to hard-to-reach areas like the nipple holes and bottle necks, as residual water can linger there. Using a clean, dry cloth helps remove excess moisture, reducing the chances of mold formation. Proper drying not only promotes mold prevention but also extends the lifespan of your bottles. Remember, moisture trapped inside or around bottles can compromise hygiene, so take the time to dry everything thoroughly before storing. Incorporating proper cleaning techniques ensures your bottles stay hygienic and safe for your baby.
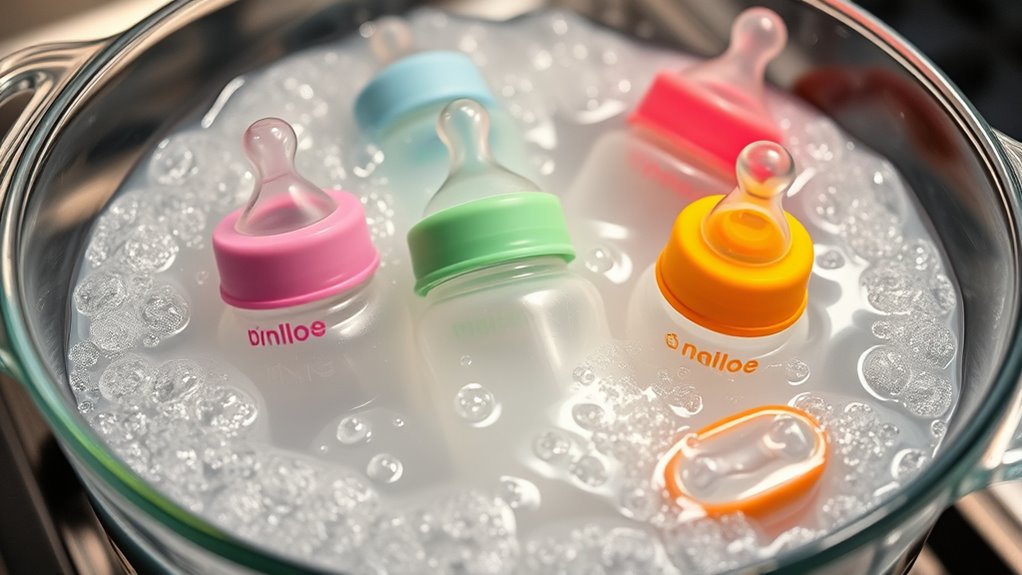
Choosing the Right Sterilization Method

Choosing the right sterilization method depends on your lifestyle, the types of bottles you use, and how often you need to clean them. If you prefer quick, chemical-free options, steaming or using a sterilization solution might suit you best. For daily cleaning, a sterilization solution can be convenient—simply soak the bottle nipple and other parts. If you want thorough sterilization without chemicals, boiling water or electric sterilizers are effective choices. Consider your space and time constraints, as well as the safety of your baby. For bottles with silicone or latex nipples, verify your method doesn’t cause damage. Additionally, understanding city dynamics such as available resources and local safety standards can help ensure you choose the most appropriate sterilization method for your routine.
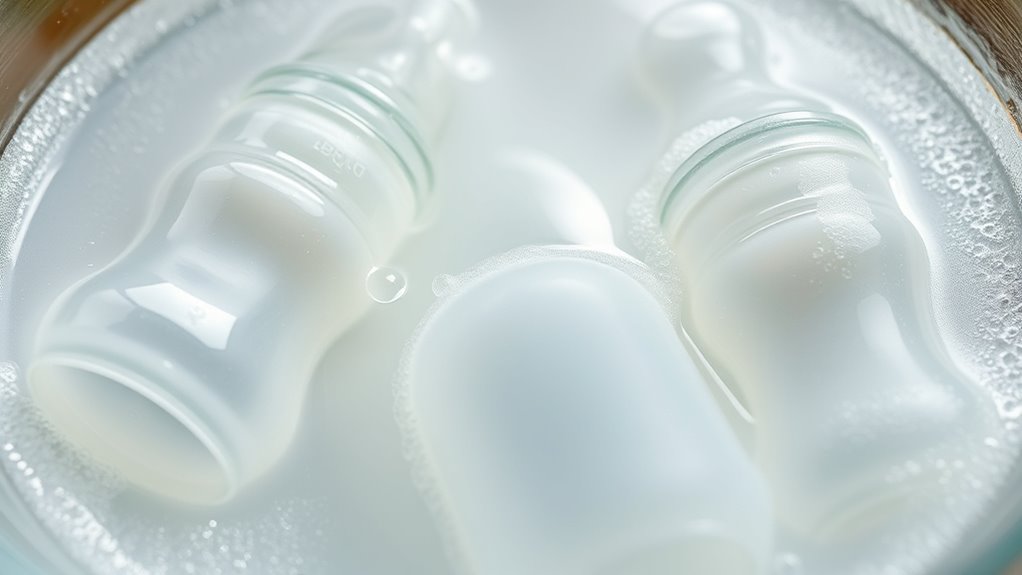
Step-by-Step Sterilization Using Boiling Water
Boiling water is a simple and effective way to sterilize baby bottles and their parts. To do this, follow these steps:
Boiling water safely sterilizes baby bottles and parts effectively.
- Wash the bottle nipple, teething ring, and other parts thoroughly with soap and warm water.
- Fill a large pot with enough water to fully submerge all items.
- Bring the water to a rolling boil.
- Carefully place the bottle nipple, teething ring, and bottles into the boiling water, ensuring they’re fully covered.
Let them boil for at least 5 minutes to kill germs and bacteria. Use tongs to remove each item and place them on a clean, dry towel. Allow everything to cool completely before use. This method keeps your baby’s bottles safe and sanitized.
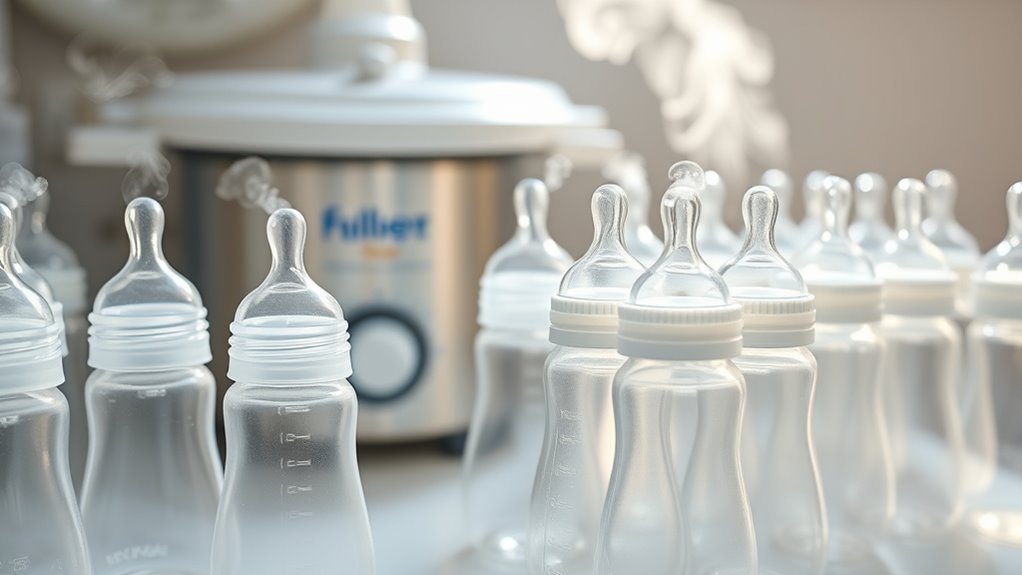
Using Electric Steam or Microwave Sterilizers
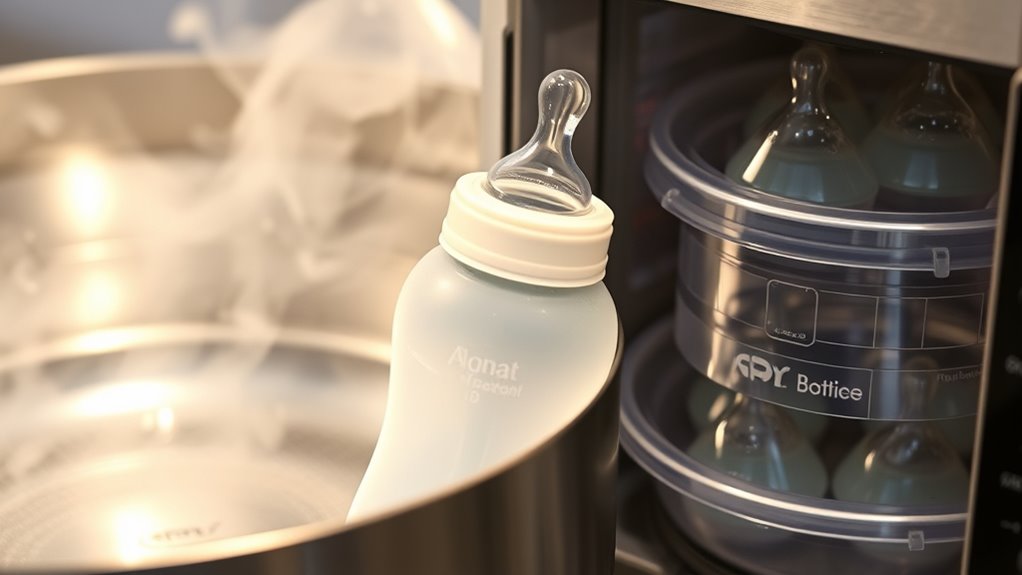
After boiling bottles and parts, many parents opt for electric steam or microwave sterilizers for added convenience and efficiency. These sterilizers work quickly, saving time while effectively killing germs. When choosing a sterilizer, consider your bottle material—plastic, glass, or silicone—as some sterilizer types work better with certain materials. Electric steam sterilizers use heated water vapor to sterilize bottles and accessories, often with a built-in timer and automatic shut-off. Microwave sterilizers are compact and use steam created in a microwave-safe container, making them ideal for quick sterilization on the go. Both types are easy to use: simply load the bottles, follow the manufacturer’s instructions, and let the sterilizer do the work. These methods guarantee your bottles remain safe and hygienic for your baby. Incorporating a whole-house water filtration system can further ensure that the water used in sterilization processes is free from contaminants, enhancing overall safety.
Storing Sterilized Bottles Safely

Once you’ve sterilized your baby bottles, it’s vital to store them properly to maintain their cleanliness and safety. Using the right storage containers helps prevent contamination and keeps bottles ready for use. Follow these safety tips for storing sterilized bottles: 1. Choose airtight, clean storage containers to prevent dust and bacteria. 2. Keep bottles in a dry, cool place away from direct sunlight. 3. Cover bottles with their caps or sterilized lids immediately after drying. 4. Avoid stacking bottles too tightly to prevent scratching or damage. Vetted – The Pinball Spot
Frequently Asked Questions
How Often Should I Sterilize Baby Bottles?
You should sterilize baby bottles after every use, especially during the first few months, to guarantee safety. The sterilization frequency depends on the bottle material; plastic bottles may need more frequent sterilizing, while glass bottles can be sterilized less often. Always follow manufacturer instructions, and consider sterilizing in a boiling water or sterilizer, to eliminate germs and protect your baby’s health.
Can I Sterilize Bottles With Formula Residue Inside?
A stitch in time saves nine. You can sterilize bottles with formula residue inside, but thorough bottle cleaning is vital first. Rinse and scrub to remove any formula residue, then sterilize to guarantee sterilization safety. Regular sterilization frequency depends on your baby’s needs, but always sterilize after each use when formula residue is present to prevent bacteria growth. Proper cleaning and sterilization keep your baby safe and healthy.
Are There Any Bottles That Don’t Require Sterilization?
Some bottles, like those made from glass or BPA-free plastics, may not require frequent sterilization if you wash them thoroughly with hot, soapy water after each use. However, it’s vital to take into account the bottle material and follow the recommended sterilization frequency, especially for newborns or immunocompromised babies. Always check manufacturer guidelines to ensure safe use, as proper sterilization helps prevent bacteria and ensures your baby’s health.
What Is the Safest Sterilization Method for Newborns?
The safest sterilization method for newborns is chemical sterilization, which uses sterilizing solutions to kill germs effectively. You can also consider natural sterilization, like boiling bottles in water for at least five minutes. Both methods guarantee your baby’s bottles are germ-free. Choose chemical sterilization for convenience and quick results, especially when traveling, or opt for natural sterilization at home for a gentle, chemical-free approach.
How Long Can Sterilized Bottles Be Stored Before Use?
Sterilized bottles can typically be stored for up to 24 hours if you follow proper bottle storage guidelines. Keep them in a clean, closed container or sealed plastic bag in the refrigerator to prevent contamination. Use sterilization techniques like boiling or steam sterilizers to guarantee they’re germ-free before storage. Always check bottles before use, and if they’ve been stored longer than 24 hours, re-sterilize or wash them thoroughly to ensure safety.
Conclusion
By following these simple steps, you’ll turn cleaning your baby’s bottles into a breeze, ensuring they’re as spotless as a diamond. Whether you choose boiling water, steam sterilizers, or microwave methods, your diligent efforts create a fortress of cleanliness that protects your little one from germs. Remember, a clean bottle isn’t just a chore—it’s the shield that keeps your baby healthy and happy, making you a superhero in their tiny world of comfort.