
To DIY fit your bike at home, start by adjusting your seat height so that when your heel is on the pedal at its lowest point, your leg is almost straight. Next, set your reach by positioning the handlebars so they feel comfortable and allow your shoulders to relax. Fine-tune the saddle tilt and position for comfort, then test your setup on a ride and make small tweaks as needed. Continue exploring the details to master your perfect bike fit.
Key Takeaways
- Adjust saddle height so your heel touches the pedal at the bottom of the stroke with your leg nearly straight.
- Set handlebar reach for relaxed elbows and comfortable riding posture, avoiding overextension.
- Use small, incremental adjustments and test ride to find optimal seat height and handlebar position.
- Ensure saddle is level or slightly nose-down to distribute pressure evenly and prevent discomfort.
- Regularly reassess fit after long rides or body changes to maintain comfort and performance.

Water Rowing Machine for Home Use, WENOKER Wooden Foldable Rower Machine with Dedicated Monitor & Bluetooth APP, Large Water Tank & Comfortable Seat for Immersive Water Rower, 350LBS Weight Capacity
[large Water Tank & Stronger Resistance] WENOKER rowing machine home use features a large water tank with the...
As an affiliate, we earn on qualifying purchases.
Assessing Your Current Bike Setup
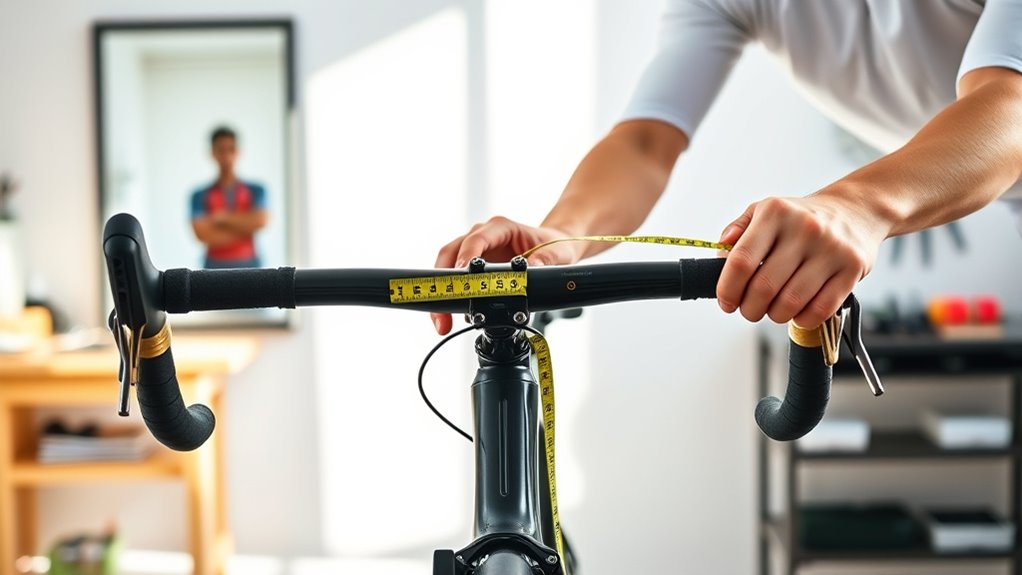
To begin evaluating your current bike setup, start by examining how you feel during your rides. Pay attention to discomfort, fatigue, or any pain, as these clues reveal if your bike accessories or riding styles need adjustment. Consider your riding style—whether you prefer casual cruising, mountain biking, or commuting—since each demands different ergonomics. Check if your handlebars, saddle, and pedals align with your comfort level. If your hands or wrists feel strained, it might be time to explore different handlebar types or grips. Look at your overall position: are you reaching too far or sitting too upright? Making small notes about how your body responds during rides helps identify what’s working and what needs changing, setting a solid foundation for a proper bike fit. Additionally, assessing your ergonomic setup can help prevent discomfort and improve riding efficiency.

MERACH Water Rowing Machines for Home, Foldable Row Machine with 400LBS Weight Capacity, Dedicated Monitor and Comfortable Seat, Free MERACH App for Immersive Water Rower
180° Foldable Storage: Innovative design allows one-handed folding, with bottom wheels for easy movement and storage, just like...
As an affiliate, we earn on qualifying purchases.
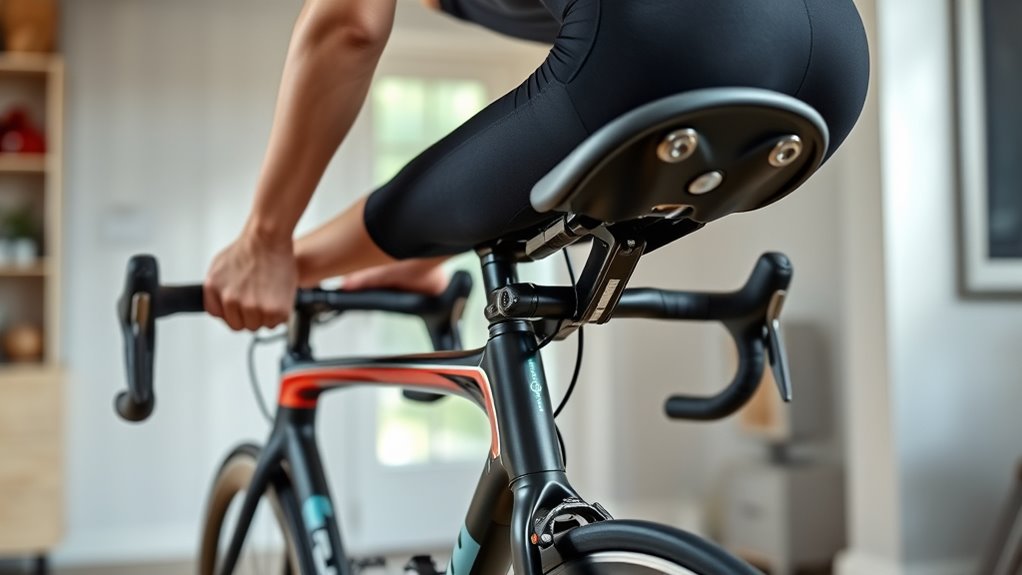
Adjusting Seat Height for Comfort and Efficiency
Adjusting your seat height is a crucial step toward improving both comfort and pedaling efficiency. When your saddle is set correctly, you’ll pedal smoothly without overextending or feeling cramped. To find the right height, sit on your bike with your heel on the pedal at the bottom of the stroke; your leg should be fully extended. Use a sturdy saddle made of comfortable materials to reduce pressure points. Also, check handlebar grips to ensure a relaxed reach, preventing strain. Here’s a quick reference:
| Adjustment Tip | Details |
|---|---|
| Saddle Materials | Choose padded or gel-filled for comfort |
| Proper Seat Height | Leg almost straight at the bottom of pedal stroke |
| Handlebar Reach | Should allow a slight bend in elbows |
| Saddle Position | Level or slightly tilted for stability |
| Pedal Alignment | Centered under your hips for balance |
Additionally, ensuring your seat height accommodates your riding style can help prevent discomfort and improve performance.

YOSUDA Water Rowing Machines with Bluetooth-Water Rowers 350LBS Weight Capacity for Home Use with Smooth Aluminum Dual Slide Rail & Rowing-Dedicated Monitor
The Most Authentic Rowing experience: You can enjoy sweet water sound clearly thanks to double Aluminum alloy slide...
As an affiliate, we earn on qualifying purchases.
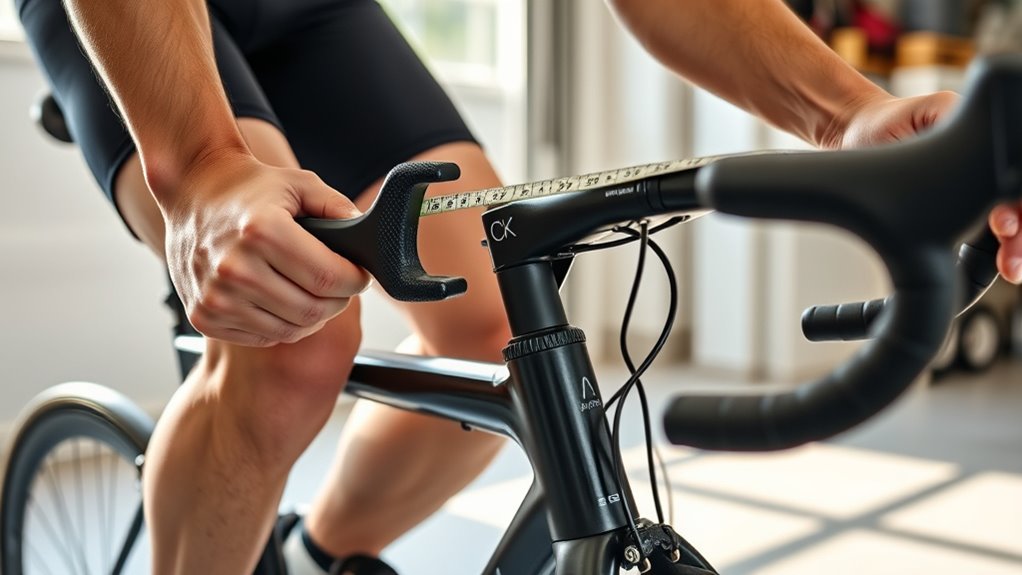
Setting the Correct Reach for Optimal Control
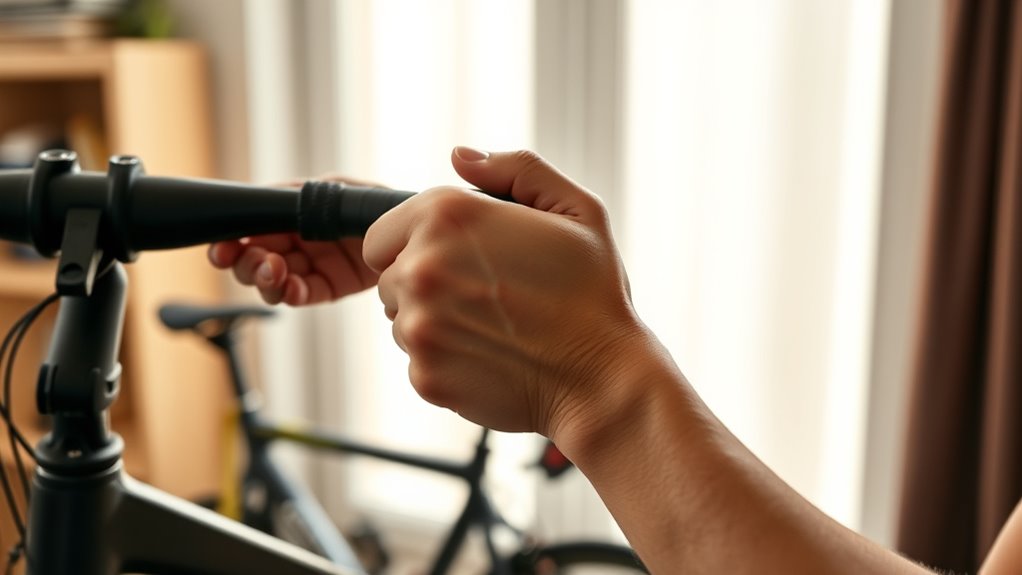
Proper reach to the handlebars guarantees you maintain control and comfort while riding. To achieve this, consider your handlebar width; it should align with your shoulder width to avoid strain. If the handlebars are too narrow or wide, you’ll struggle to steer smoothly. Additionally, check your brake reach—your brake levers should be easily accessible without overextending your fingers. If they’re too far, you’ll need to adjust the brake reach or replace the levers to fit your hand size. A proper reach ensures you can comfortably grip the bars and operate brakes quickly, enhancing safety and control. Adjusting your handlebar position to match your precise fit can improve overall riding comfort and performance. Make small adjustments and test ride to find the ideal setup that balances comfort with precise handling.

WENOKER Water Rowing Machine for Home Use, Wooden Foldable Rower Machine with Adjustable Monitor & Bluetooth APP, Large Water Tank & Comfortable Seat for Immersive Water Rower, 350LBS Weight Capacity
[Total Body Exercise Rowing] According to scientific reports, rowing machines can work 90% of muscle groups. Combines cardio...
As an affiliate, we earn on qualifying purchases.
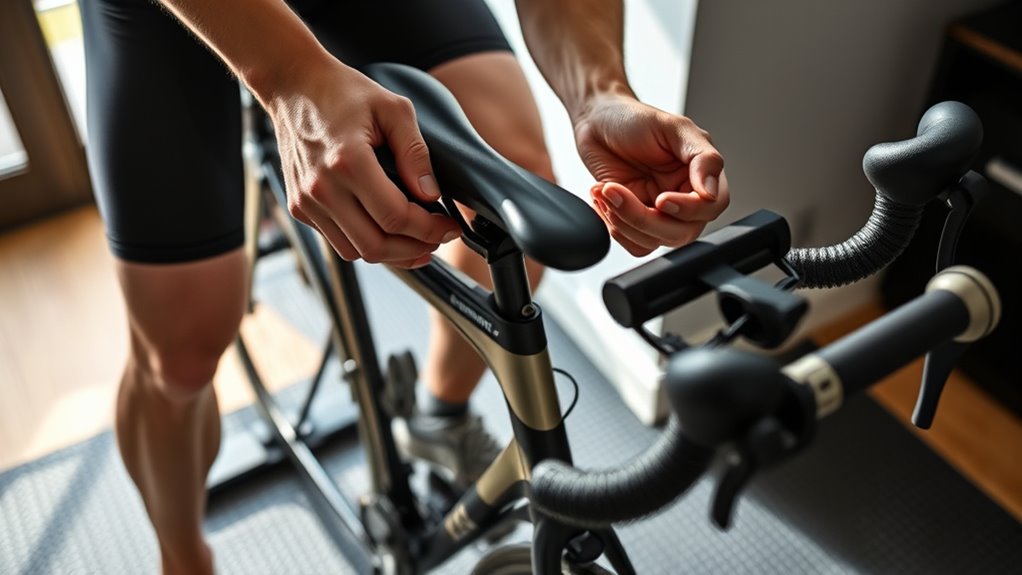
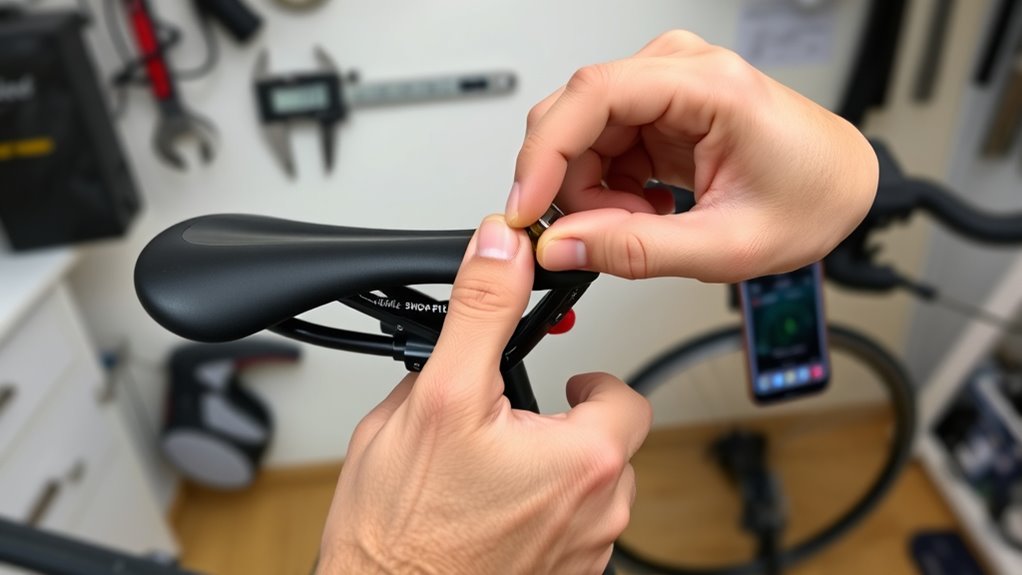
Fine-Tuning Saddle Position and Tilt
Fine-tuning your saddle position and tilt can considerably improve your comfort and efficiency on the bike. Start by adjusting the saddle tilt to ensure it’s level or slightly nose-down, which helps prevent pressure buildup and saddle discomfort. Pay attention to your saddle shape—some seats have a cutout or specific contour that supports your anatomy better. If your saddle is too tilted forward, you might experience numbness or pressure on sensitive areas; if tilted too far back, you could lose control or feel unstable. Small adjustments make a big difference, so test each change by riding for a few minutes. Aim for a position that allows you to sit comfortably without shifting your pelvis excessively, helping you maintain a smooth, efficient pedal stroke. Additionally, proper saddle fit can help prevent discomfort and improve your riding experience.
Testing Your Adjustments and Making Final Tweaks
Once you’ve made your initial saddle adjustments, it is vital to test them thoroughly before settling on the final position. Start riding at a comfortable pedal cadence, around 70-90 RPM, to feel how your body responds. Focus on smooth pedal strokes and pay attention to any discomfort or awkwardness. Use different gear selection options to see how your position feels under various resistance levels; shifting gears can reveal if your reach or saddle height needs minor tweaks. Keep an eye on your posture, ensuring your hips stay level and your knees move efficiently. Make small adjustments as needed, then repeat your ride. Consistent testing helps you find a position that’s comfortable, efficient, and sustainable over longer rides. Additionally, incorporating healthy eating habits can improve your overall comfort and performance during cycling sessions.
Tips for Maintaining Your Bike Fit Over Time
To keep your bike fit comfortable and efficient, make a habit of regularly checking your components and making necessary adjustments. As your flexibility or riding style change, your setup might need tweaks to stay ideal. Pay attention to how you feel during rides, and adjust accordingly to maintain a perfect fit over time. Incorporating regular assessments can help identify when adjustments are needed to optimize your comfort and performance.
Regularly Check Components
Regularly checking your bike’s components is essential to maintaining a proper fit and guaranteeing safe riding. Use your maintenance tools to inspect critical parts like the handlebars, stem, and saddle for looseness or wear. Keep an eye on bike accessories such as brakes, shifters, and gears to ensure they function smoothly. Tighten bolts and fasteners as needed to prevent any shifting or instability. Regular inspections help catch issues early, saving you from costly repairs and potential accidents. Don’t forget to check tire pressure and brake pad wear during these routines. Staying proactive with component checks keeps your bike performing at its best, so you can enjoy comfortable, safe rides every time. Schedule these checks weekly or after long rides for maximum results. Self Watering Plant Pots can serve as a helpful example of maintaining consistent conditions to prevent overwatering or underwatering, similar to how regular component checks prevent mechanical issues.
Adjust for Flexibility Changes
As your flexibility changes over time, it’s important to adjust your bike fit accordingly to maintain comfort and efficiency. Incorporate regular flexibility exercises and stretching routines into your routine to improve mobility. These routines help keep your muscles limber, making it easier to maintain proper riding posture. When you notice tightness or discomfort, consider adjusting your saddle height or reach slightly to accommodate your new range of motion. Staying flexible also reduces strain on your joints and muscles, preventing injuries. Make small tweaks based on how you feel during rides. Consistent stretching routines can also help sustain your flexibility, ensuring your bike fit remains comfortable as your body evolves. Regularly evaluating and adjusting your position helps you ride efficiently and comfortably over time. Additionally, understanding heat pump technology and its adaptability can serve as a useful analogy for making effective adjustments to your bike setup.
Monitor Riding Comfort
Keeping track of how your bike fit feels during rides is essential for long-term comfort. Pay attention to your cycling posture—if you notice persistent aches or discomfort, it might be time to reassess your fit. Regularly monitoring your riding comfort helps identify subtle changes that can affect performance and prevent injury. Using ergonomic accessories, like padded grips or saddle cushions, can improve comfort and support your body’s natural alignment. Make adjustments as needed, especially after long rides or if your flexibility or strength changes. Consider taking notes or recording your setup to compare over time. Staying attentive to your body’s signals ensures your bike fit remains ideal, making each ride more enjoyable and reducing the risk of strain or fatigue. Incorporating eye patch benefits into your routine can also help alleviate fatigue and refresh your eyes after long rides or screen time, contributing to overall well-being.
Frequently Asked Questions
How Often Should I Recheck My Bike Fit at Home?
You should recheck your bike fit at home every few months or after any significant changes, like a new saddle or bike components. Regular bike fit maintenance guarantees comfort and efficiency, preventing injuries. Pay attention to any discomfort or pain during rides, which signals it’s time for adjustments. Typically, an adjustment frequency of every 3 to 6 months works well, but always listen to your body and ride conditions.
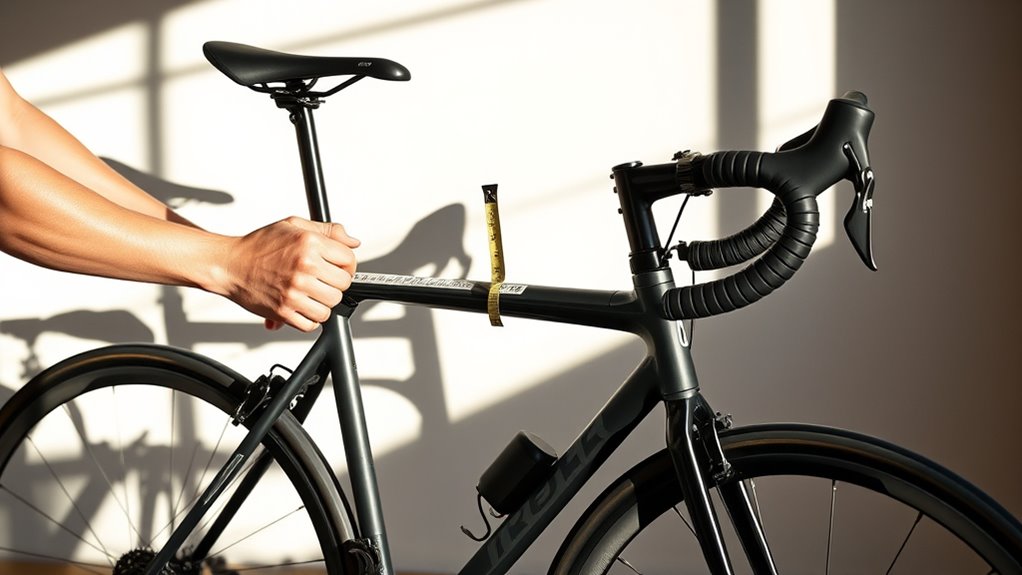
Can I Use Household Tools for Precise Adjustments?
Yes, you can use household tools for precise adjustments on your bike. A tape measure helps you set accurate seat height and reach, while a wrench or pliers can tighten bolts securely. Just make certain you’re careful and double-check measurements to avoid over-tightening or misalignments. Household tools are convenient, but for the best results, invest in a bike-specific tool kit for more precise adjustments and to prevent damage.
What Signs Indicate My Bike Fit Needs Changing?
You should consider adjusting your bike fit if you experience saddle discomfort, numbness, or tingling, which signals your saddle height or position isn’t right. Also, if you feel strained or extend too much to reach the handlebars, it indicates handlebar reach needs tweaking. Pay attention to your body’s signals, and make small adjustments to improve comfort and efficiency on your rides.
How Do I Adjust for Different Riding Styles?
Adjusting for different riding styles is like tailoring a suit for perfect comfort. You should modify your riding posture and make ergonomic adjustments accordingly. For mountain biking, lean forward slightly and raise your handlebars for better control. For long-distance rides, sit more upright and extend your reach if needed. These tweaks help optimize your fit, improve comfort, and enhance performance tailored to each riding style.
Are There Risks to Incorrect Bike Fitting?
Yes, incorrect bike fitting can lead to bike discomfort and increase injury risk. If your saddle height or reach isn’t right, you might strain your knees, back, or wrists. To prevent injuries, take the time to properly adjust your bike, paying attention to comfort and alignment. Doing so helps guarantee a safe, enjoyable ride and reduces the chance of long-term issues.
Conclusion
Getting your bike fit right can boost comfort and performance—plus, a proper setup may reduce injury risk. Did you know that riders who optimize their bike fit experience up to 20% better efficiency? By following these simple at-home adjustments, you take control of your ride and enjoy smoother, more enjoyable cycling. Keep fine-tuning periodically to stay comfortable as your body and riding style evolve. A small investment in fit can make a big difference in your cycling experience.