To improve recovery with foam rolling, focus on targeting specific muscle groups with proper technique. Position the roller under the muscle, maintain steady pressure, and move slowly, pausing on tight spots to release tension. Incorporate warm-up, hydration, and stretching before and after rolling for better results. Keep your foam roller clean and choose the right size for your body and experience level. Continue exploring these tips to optimize your recovery routine effectively.
Key Takeaways
- Use slow, controlled movements and pause on tender spots to release muscle tension effectively.
- Position the foam roller under targeted muscle groups, maintaining steady pressure for optimal benefits.
- Engage core muscles during rolling to ensure stability and prevent strain.
- Incorporate deep breathing to relax muscles and enhance tissue elasticity during foam rolling.
- Target key muscle groups such as quads, hamstrings, calves, shoulders, and chest for comprehensive recovery.
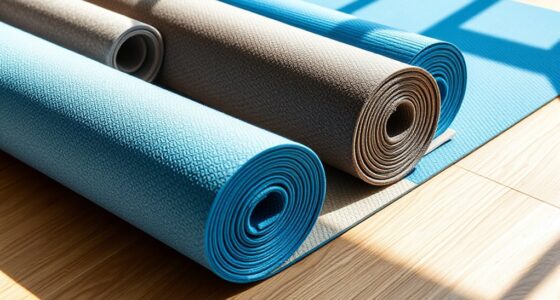
Choosing the Right Foam Roller for Your Needs
Choosing the right foam roller depends on your specific needs and experience level. Material durability is essential—look for high-density foam or PVC for longevity and firm support, especially if you plan to use it frequently. Cheaper foam rollers may break down faster, reducing their effectiveness. Size compatibility also matters; a standard 36-inch roller offers full-body coverage, while smaller 12- or 18-inch options are more portable and easier to target specific areas. If you’re a beginner, start with a softer, lighter roller to ease into the technique. More advanced users might prefer a firmer, denser roller for deeper muscle penetration. Assess your comfort level and intended use to find a foam roller that balances durability with the appropriate size for your body and goals. Regular use of foam rollers can also help improve circulation and aid in recovery, similar to how glycolic acid promotes skin regeneration and pore reduction skin benefits.
Preparing Your Body Before Foam Rolling
Before you start foam rolling, it’s important to prepare your body to maximize effectiveness and reduce the risk of injury. Begin with post workout stretches to loosen tight muscles and improve flexibility, making foam rolling more effective. Hydration strategies are also vital; drinking water helps flush out toxins and keeps your muscles supple. Make sure you’re well-hydrated before your session, especially after intense exercise. Warm up lightly with a few minutes of brisk movement to increase blood flow and warm your muscles. This preparation helps your body respond better to foam rolling, reducing discomfort and enhancing recovery. Taking these simple steps ensures you get the most benefit from your foam rolling routine while protecting your muscles from unnecessary strain.
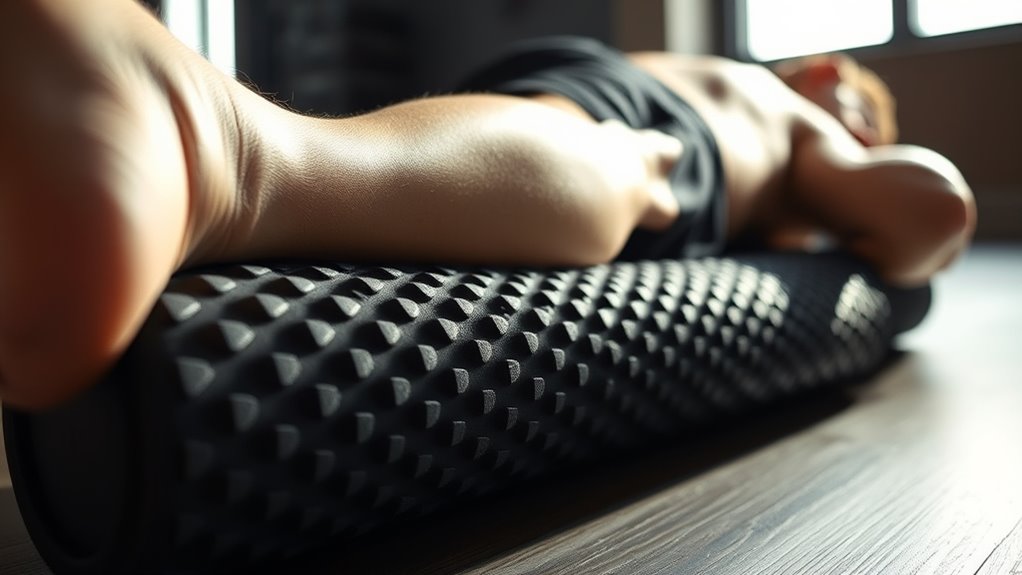
Proper Technique for Targeted Muscle Groups
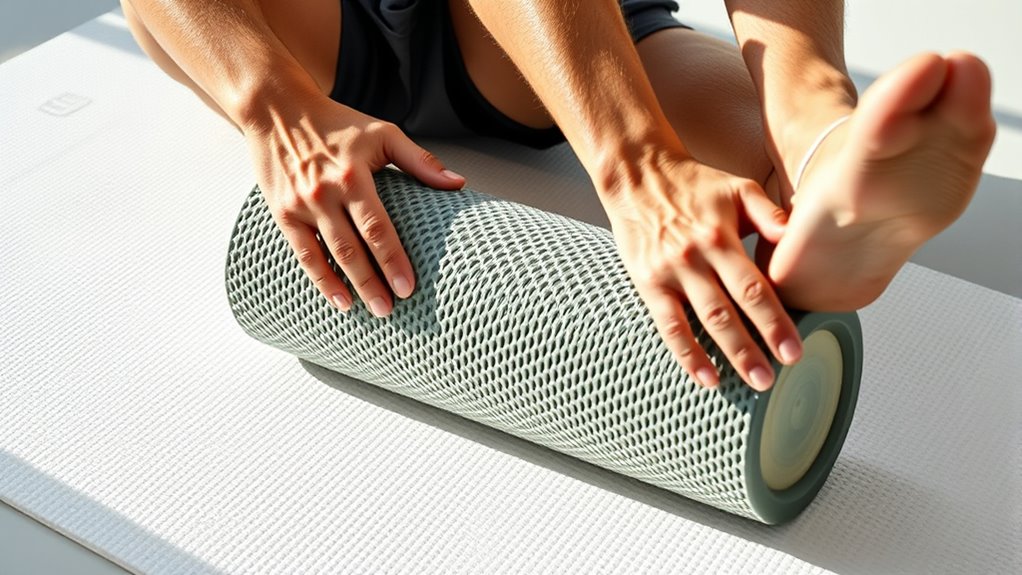
To effectively target specific muscle groups with foam rolling, employing proper technique is vital to maximize benefits and prevent injury. Begin by positioning the foam roller under the muscle, maintaining steady pressure to encourage muscle activation. Use slow, controlled movements to roll back and forth, pausing on tender spots to release tightness. Keep your core engaged to maintain stability and avoid unnecessary strain. Remember, consistent foam roller maintenance is essential; regularly inspect your roller for wear and clean it to guarantee hygiene. Focus on breathing deeply to help relax the muscles and improve tissue elasticity. By applying precise pressure and executing smooth, deliberate motions, you optimize recovery and promote muscle health without risking overuse or discomfort.
Rolling the Calves and Shins
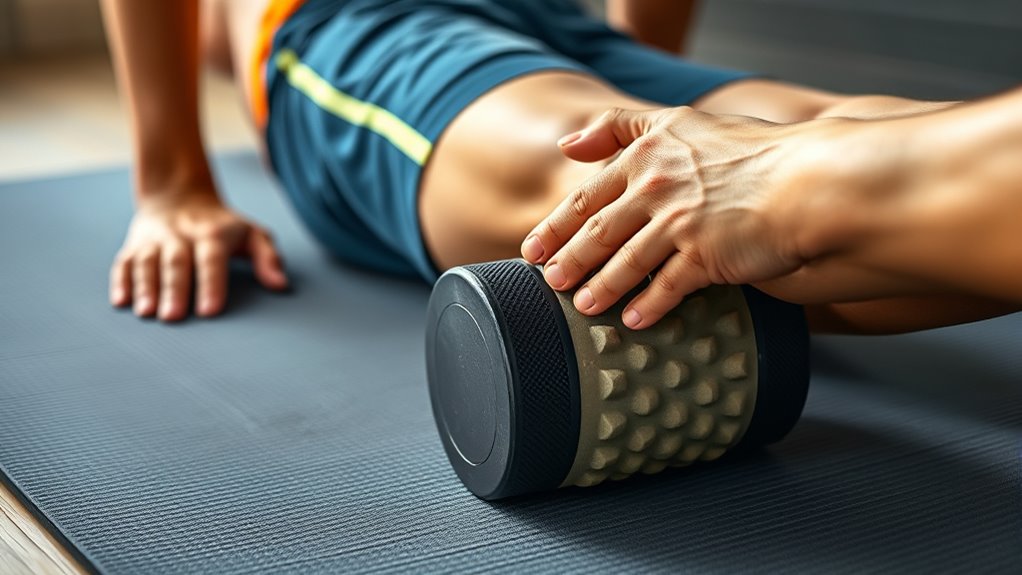
When rolling your calves and shins, make sure your body is properly aligned to target the right muscles effectively. Focus on applying steady pressure to the areas that feel tight or sore, avoiding unnecessary strain. Using proper technique ensures you engage the correct muscle groups and maximize the benefits of your foam rolling session. By paying attention to proper technique and targeting specific muscle groups, you’ll get the most benefit from your foam rolling session.
Proper Technique Alignment
Achieving proper technique alignment while foam rolling your calves and shins guarantees you target the right muscles effectively and avoid unnecessary strain. Maintain good posture correction by keeping your back straight and hips stable. Ascertain your equipment is well-maintained—use a clean, firm foam roller that’s appropriate for your needs. Proper positioning involves aligning your body so that pressure is evenly distributed, avoiding any twisting or uneven pressure on your shins and calves. Focus on controlled movements, rolling slowly to maximize muscle relaxation. Remember, improper alignment can lead to discomfort or injury. Regularly check your foam roller for cracks or wear, and adjust your posture as needed during each session. Proper setup ensures safe, effective recovery with minimal risk. Additionally, understanding muscle anatomy can help you target specific areas more precisely during foam rolling.
Targeted Muscle Areas
Focusing on your calves and shins during foam rolling helps release tension and improve circulation in these essential muscle groups. By targeting these areas, you can enhance muscle flexibility, making your movements more efficient and reducing stiffness. Regularly rolling your calves and shins can also play a key role in injury prevention, especially for runners and athletes who put extra stress on lower leg muscles. Use controlled pressure to roll along the length of your calves and shins, paying attention to tender spots. This focused approach helps break up fascia tightness and promotes better blood flow, supporting faster recovery. Incorporate this targeted foam rolling into your routine to keep these muscles supple, resilient, and less prone to strain or injury.
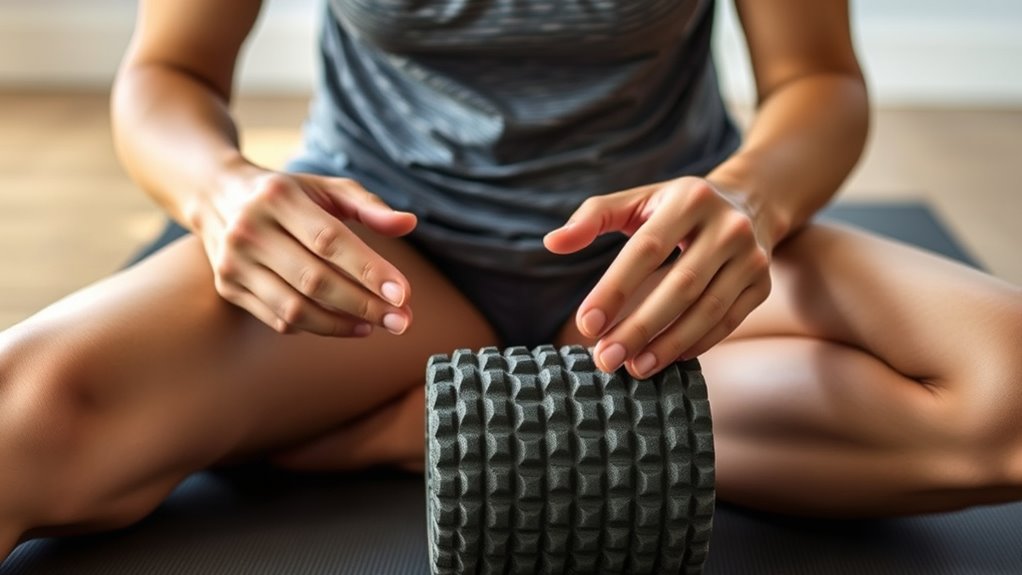
Releasing Tension in the Thighs and Quadriceps
To release tension in your thighs and quadriceps, focus on proper foam placement to target the right muscle groups. Position the foam roller directly under the areas that feel tight or sore, moving slowly to cover the entire muscle. By targeting these specific areas carefully, you’ll improve flexibility and reduce discomfort effectively.
Proper Foam Placement
Proper foam placement is essential for effectively releasing tension in your thighs and quadriceps. Position the foam roller so that it targets the thickest part of your muscle, just above the knee and below the hip. Keep your body relaxed and avoid putting too much pressure on bony areas. By aligning the foam correctly, you allow the roller to work on the fascia, promoting fascia release and reducing muscle tension. Move slowly and pause on tender spots to deepen the release. Consistent, precise placement ensures you’re targeting the right areas, maximizing the benefits of foam rolling. Remember, proper foam placement helps prevent injury and enhances recovery, making your foam rolling routine more effective and comfortable. Additionally, understanding muscle anatomy ensures you target the correct areas for optimal results.
Targeted Muscle Areas
Targeting specific muscle areas is essential for effectively releasing tension in your thighs and quadriceps. By focusing on these regions, you can improve muscle flexibility and reduce tightness that hampers movement. Use your foam roller to gently apply pressure along the front of your thighs, moving slowly to target tight spots. This targeted approach helps break up adhesions and improves blood flow, which is vital for injury prevention. Be mindful of your body’s responses—avoid excessive pressure that causes pain. Consistent foam rolling in these areas enhances muscle recovery and flexibility, supporting better performance and reducing the risk of strains. Proper technique and understanding the importance of muscle recovery can maximize the benefits of your foam rolling routine. Incorporate these techniques into your routine to maintain healthy, resilient thighs and quadriceps, ensuring you’re prepared for any activity.
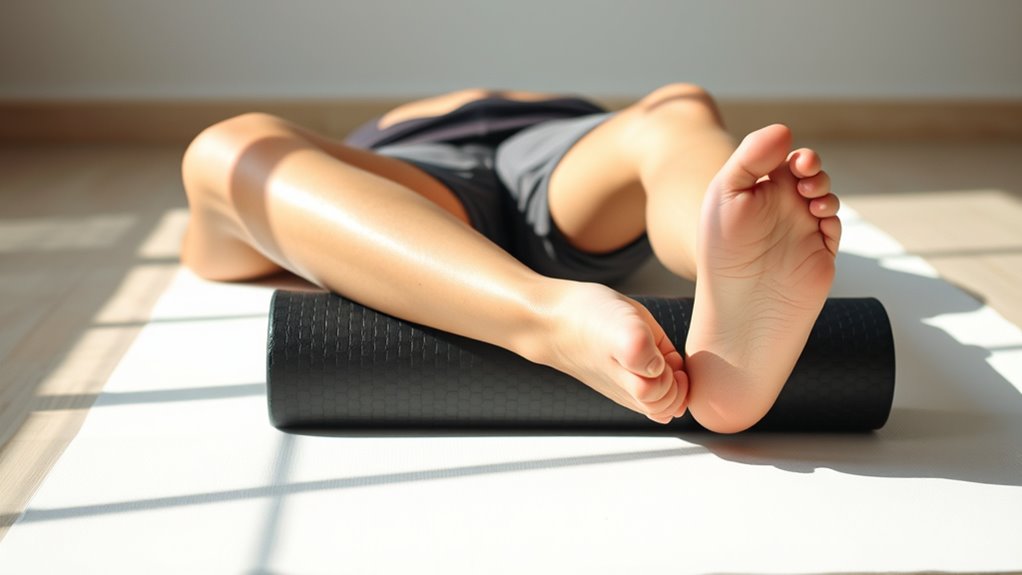
Loosening Up the Hamstrings and Glutes
Loosening up your hamstrings and glutes with foam rolling can considerably improve flexibility and reduce muscle tightness. To maximize benefits, incorporate these tips: 1. Use slow, controlled movements to target tight spots, maintaining pressure for 30-60 seconds. 2. Combine foam rolling with dynamic stretching afterward to enhance muscle elasticity. 3. Stay hydrated before and after rolling; proper hydration strategies help flush out toxins and promote muscle recovery. Additionally, ensuring proper muscle recovery practices can prevent future injuries and improve overall effectiveness. Focusing on your hamstrings and glutes not only eases stiffness but also boosts mobility for daily activities and workouts. Remember, consistency is key—regular foam rolling paired with dynamic stretching ensures lasting results. Keep your muscles loose and prepared for anything by integrating these techniques into your recovery routine.
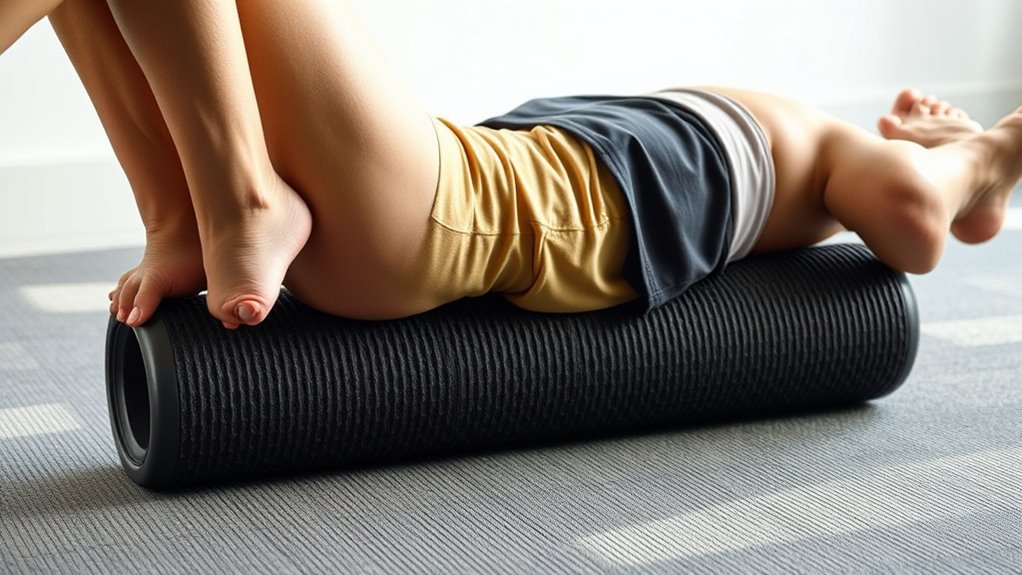
Targeting the Lower Back and Spine Safely

To safely foam roll your lower back and spine, it’s essential to approach the area with gentle pressure and controlled movements, avoiding any sudden or deep presses that could cause discomfort. Keep your foam roller well-maintained by cleaning it regularly to prevent dirt buildup and guarantee maximum grip. This helps you avoid unnecessary strain or injury. Many foam rolling myths suggest applying maximum pressure for faster results, but gentle, consistent pressure is more effective and safer for your spine. Focus on slow, controlled rolls rather than aggressive movements. Always listen to your body, and if you experience pain, stop immediately. Proper technique and foam roller maintenance are key to safe, effective foam rolling, minimizing the risk of injury and promoting better recovery. Being aware of best foam rolling practices can further enhance your safety and effectiveness during recovery.
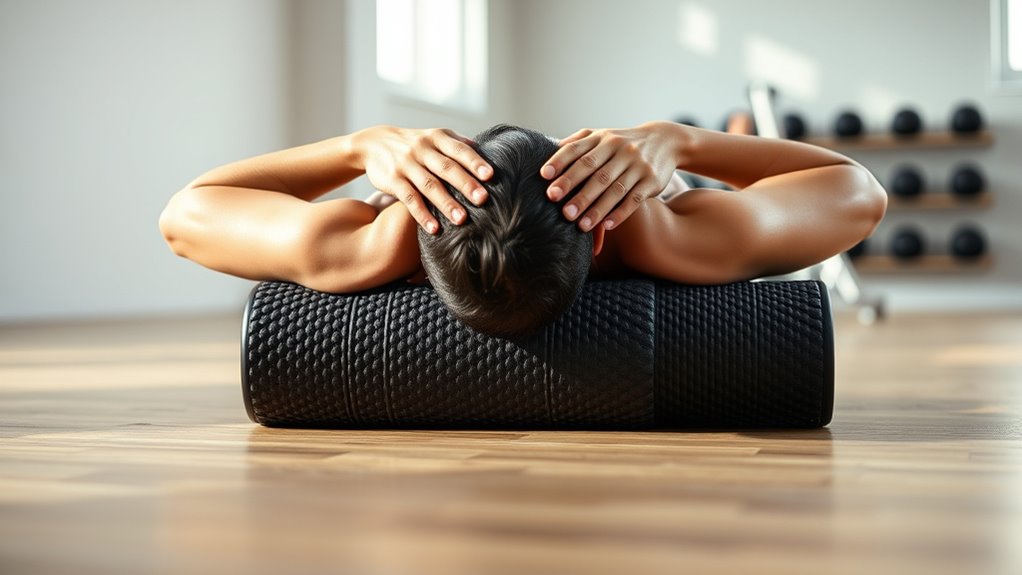
Addressing Upper Body Muscles: Shoulders and Chest
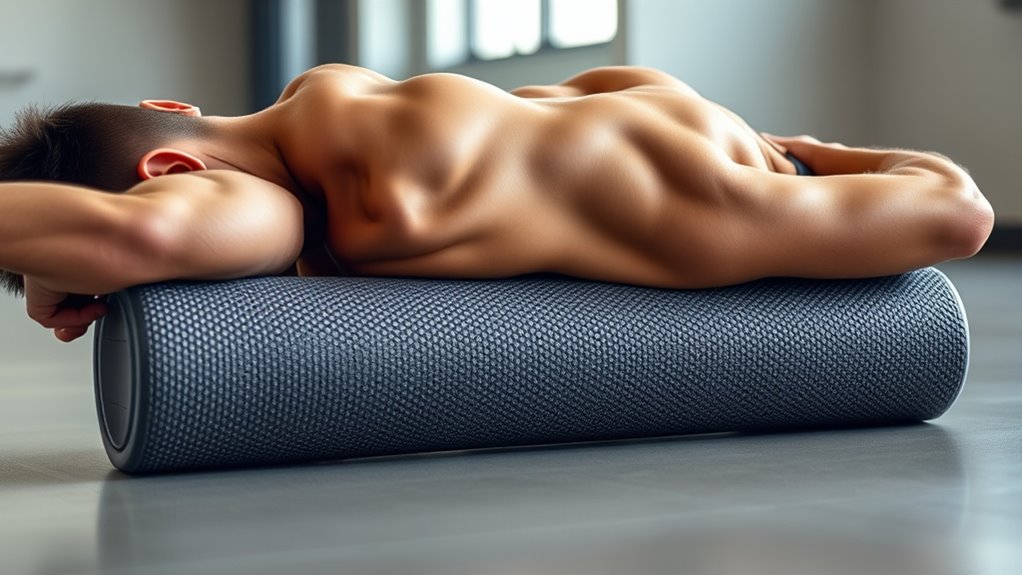
Focusing on your shoulders and chest with foam rolling can help release muscle tightness and improve mobility, especially if you spend long hours at a desk or perform repetitive movements. By rolling these areas, you enhance shoulder mobility and increase chest flexibility, reducing discomfort and preventing injury. Additionally, incorporating proper foam rolling techniques can prevent overuse injuries associated with repetitive motion activities. Here are three effective techniques: 1. Roll along the front of your shoulders to target tightness in the deltoids and improve shoulder mobility. 2. Use the foam roller across your upper chest to release tension and boost chest flexibility. 3. Focus on the collarbone area and the upper pectorals for a deeper release, easing tightness caused by poor posture. In addition, paying attention to muscle recovery practices can support your overall upper body health. Incorporate these steps regularly to experience better movement and reduced upper body stiffness.
Tips for Maintaining Consistency and Safety
Maintaining consistency and safety while foam rolling is vital to prevent injuries and guarantee you get the most benefit from your routine. To do this, follow hydration tips such as drinking water before and after sessions to keep muscles hydrated and flexible. Always listen to your body; if you experience pain beyond discomfort, stop immediately to prevent injury. Use proper technique and avoid excessive pressure, especially over bony areas or sensitive spots. Keep your movements smooth and controlled to reduce strain. Regularly check your foam roller for wear and tear to confirm safety. Staying consistent with your routine helps your muscles adapt and recover effectively, but never sacrifice safety for speed. Incorporating reviewed techniques can enhance your foam rolling effectiveness and safety. Consistent, mindful practice enhances injury prevention and promotes long-term recovery.
Incorporating Foam Rolling Into Your Recovery Routine

Incorporating foam rolling into your recovery routine can substantially enhance muscle relaxation and reduce soreness after workouts. To maximize benefits, consider these steps:
- Schedule regular sessions—aim for 3-4 times weekly—to improve muscle flexibility and prevent injuries.
- Target key areas like quads, hamstrings, and calves, focusing on tight or sore spots for ideal recovery.
- Combine foam rolling with stretching to boost flexibility and support injury prevention.
- Remember that regular maintenance of your foam roller ensures its effectiveness and longevity during your recovery practices.
Frequently Asked Questions
How Often Should I Foam Roll for Optimal Recovery?
You should foam roll 3 to 5 times a week for ideal recovery, following consistent frequency guidelines. It’s best to incorporate foam rolling into your routine after workouts or during rest days to target sore muscles and improve flexibility. Focus on the optimal timing, like right after exercise or before bed, to maximize benefits. Listen to your body, and adjust the frequency if you experience discomfort or soreness.
Can Foam Rolling Help With Injury Prevention?
Yes, foam rolling can help prevent injuries by reducing muscle tension and boosting blood circulation. When you regularly roll, you loosen tight muscles before they cause problems, making your body more resilient. This proactive approach can improve flexibility and decrease the risk of strains or overuse injuries. Don’t underestimate the power of consistent foam rolling—it’s a simple step that keeps your muscles healthy and ready for action.
Are There Any Contraindications for Foam Rolling?
Yes, there are safety concerns you should consider before foam rolling, especially if you have certain medical conditions. If you have varicose veins, blood clots, skin infections, or recent injuries, foam rolling could worsen your condition. Always consult your healthcare provider if you’re unsure. Avoid rolling over bony areas or joints, and listen to your body—stop if you experience pain or discomfort. Safety comes first to prevent any adverse effects.
How Do I Avoid Over-Rolling or Causing Bruising?
Imagine you’re targeting a pressure point on your thigh, but you notice increased skin sensitivity or a bruise forming. To avoid over-rolling, start with light pressure and gradually increase, paying close attention to how your skin reacts. Limit rolling to 1-2 minutes per area, and avoid rolling directly over bony prominences or recent injuries. This careful approach prevents bruising and minimizes discomfort.
Can Foam Rolling Improve Flexibility Immediately?
Yes, foam rolling can improve flexibility immediately by promoting muscle relaxation and enhancing joint mobility. When you roll, you increase blood flow and reduce muscle tightness, which helps your muscles stretch more easily. This immediate effect can make a noticeable difference in your range of motion. To maximize benefits, focus on consistent technique and avoid over-rolling, which could cause discomfort or bruising.
Conclusion
Now that you know how to foam roll effectively, you’re all set to give your muscles the attention they deserve. Consistency is key, and with proper technique, you’ll see improvements in recovery and performance. Think of foam rolling as tending to a garden—you have to nurture it regularly to keep everything in bloom. Stick with it, stay safe, and watch your progress grow stronger each day.