
To clean your earbuds and headphones safely, start by gathering gentle cleaning supplies like microfiber cloths, soft brushes, and isopropyl alcohol. Remove and inspect ear tips and cushions, cleaning them carefully with mild soap or damp cloths. Wipe down surfaces and disinfect with alcohol, avoiding excess moisture. Clean ports using soft tools and compressed air. Dry all parts thoroughly before reassembling. Following these steps helps maintain hygiene and device longevity—keep going to discover more detailed techniques.
Key Takeaways
- Use gentle cleaning solutions like isopropyl alcohol or water with mild soap, avoiding harsh chemicals or soaking electronic parts.
- Detach ear tips and cushions regularly to inspect, clean with damp cloth or replace if worn or dirty.
- Gently clean surfaces and ports with microfiber cloth, cotton swabs, or soft brushes; avoid excessive moisture or abrasive cleaners.
- Use compressed air or soft tools to carefully remove debris from internal ports; ensure components are dry before reassembling.
- Establish a daily cleaning routine after use or workouts to maintain hygiene, sound quality, and device longevity.
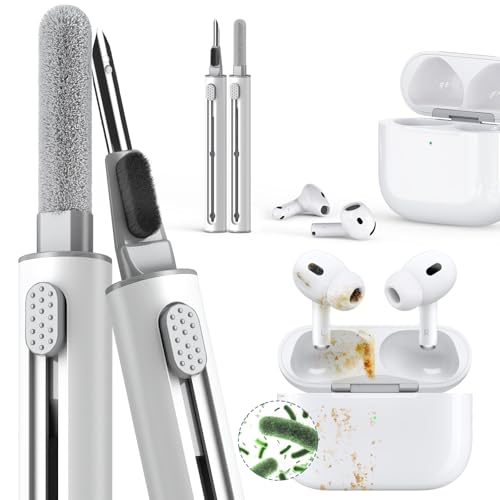
Inesore Cleaner Kit for Airpods Pro 3 2 1 Series,Multi-Function Cleaning Pen Tool for Earbuds Headphone iPhone Camera Electronic Devices,with Soft Brush Flocking Sponge -White
WIDE APPLICATION: It's not just a cleaning pen for airpods headphone, it can also clean your phone,ipad,camera.
As an affiliate, we earn on qualifying purchases.
As an affiliate, we earn on qualifying purchases.
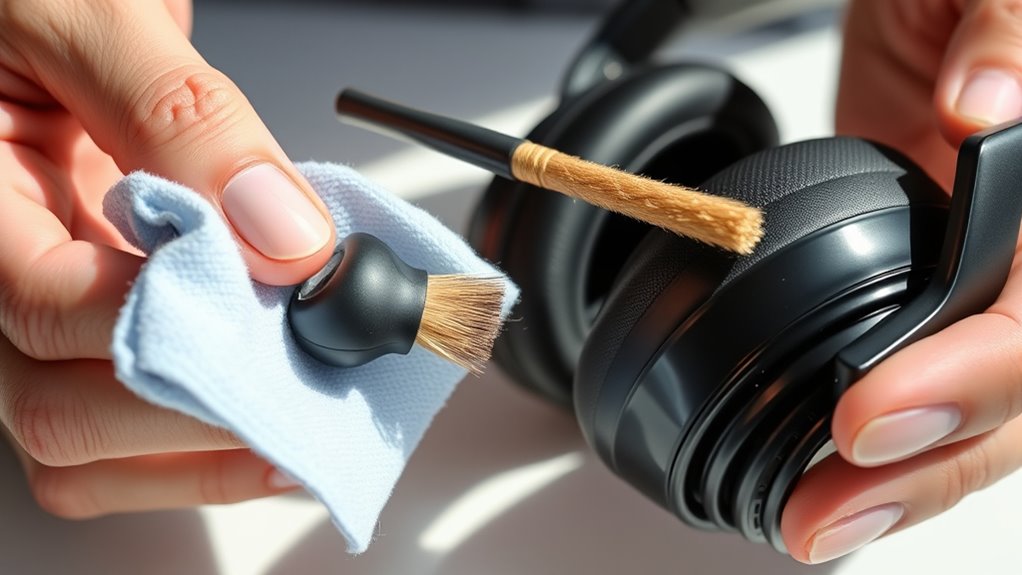
Gather Your Cleaning Supplies

To effectively clean your earbuds and headphones, start by gathering the right supplies. You’ll need gentle cleaning solutions, such as isopropyl alcohol or a mixture of water and mild soap, to sanitize without damaging delicate components. Keep small brushes or soft cloths handy to remove dirt and debris safely. Having a microfiber cloth is essential for wiping down surfaces and ensuring a streak-free finish. Before cleaning, consider storage tips like keeping your devices in a case or a designated spot to prevent dust buildup. Proper storage also makes cleaning easier over time. Avoid harsh chemicals that could harm your devices. Additionally, understanding the importance of data privacy can guide you in choosing safe cleaning methods that do not compromise your device’s security. With the right cleaning solutions and organized storage, you’ll keep your earbuds and headphones in top condition, ready for clear, crisp sound.
Inesore Cleaner Kit for Airpods Pro 3 2 1 Series,Multi-Function Cleaning Pen Tool for Earbuds Headphone iPhone Camera Electronic Devices,with Soft Brush Flocking Sponge -White
WIDE APPLICATION: It's not just a cleaning pen for airpods headphone, it can also clean your phone,ipad,camera.
As an affiliate, we earn on qualifying purchases.
As an affiliate, we earn on qualifying purchases.
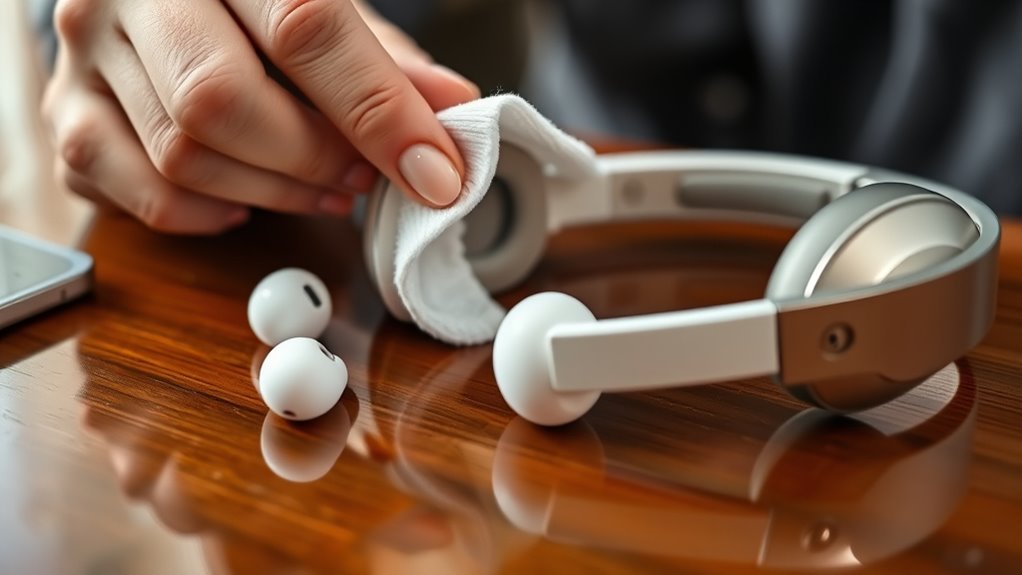
Remove and Inspect Ear Tips and Ear Cushions
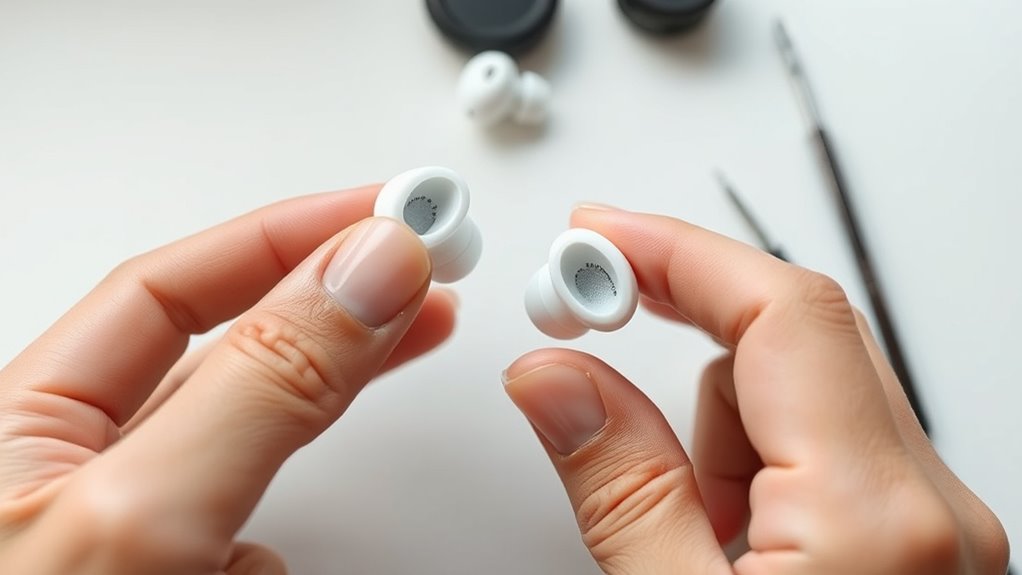
Before cleaning your earbuds and headphones, it’s important to remove and inspect the ear tips and ear cushions. Carefully detach the ear tips from the earbuds, checking for dirt, earwax, or damage during your inspection. Look for cracks or tears that may affect sound quality and comfort. If the ear tips are worn or heavily soiled, consider cushion replacement to guarantee a proper fit and hygiene. For headphones with ear cushions, gently remove them and examine their condition. Replace any cushions that are torn, flattened, or stained. Regular ear tips inspection helps maintain sound clarity and prevents buildup of debris, while cushion replacement keeps your headphones comfortable and hygienic over time. Proper inspection ensures your headphones stay in excellent condition. Routine maintenance is essential for preserving sound quality and extending the lifespan of your audio devices.

ForPro Professional Collection 99% Isopropyl Alcohol (IPA), Pure & Unadulterated Concentrated Alcohol, 32 Fl Oz (960ml)
Pure & Unadulterated Alcohol: Made from the highest grade, 99% pure isopropyl alcohol. High purity alcohol contains no…
As an affiliate, we earn on qualifying purchases.
As an affiliate, we earn on qualifying purchases.
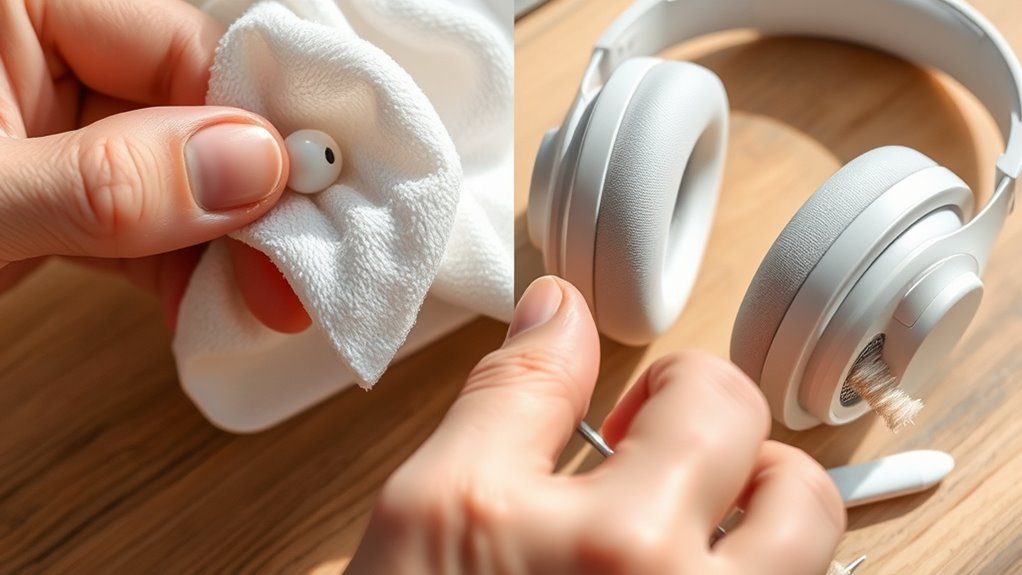
Clean Ear Tips and Cushions Carefully

Cleaning your ear tips and cushions carefully guarantees they remain hygienic and function properly. First, check the ear tip material, as different materials like silicone, foam, or rubber require specific cleaning methods. Use a damp cloth with a gentle soap solution to wipe silicone and rubber tips; avoid soaking foam tips to prevent damage. If your cushions show signs of wear or can’t be cleaned thoroughly, consider cushion replacement options—many brands offer compatible replacements that restore comfort and sound quality. Be gentle during cleaning to avoid tearing or deforming the material. Regularly inspecting and cleaning your ear tips and cushions not only maintains hygiene but also prolongs their lifespan, ensuring your earbuds or headphones continue to deliver optimal sound and comfort. Additionally, understanding the contrast ratio of your headphones can help you select products that provide better image quality in visual displays, paralleling the importance of maintaining high sound fidelity in audio devices.
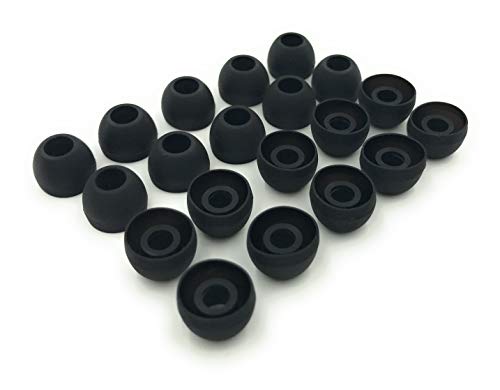
Earbudz 10 Pairs Medium Earbud Tips Silicone Replacement Ear Bud Tips – Black
10 Pairs of Medium Black Rubber Replacement Earbud Tips (20 pieces)
As an affiliate, we earn on qualifying purchases.
As an affiliate, we earn on qualifying purchases.
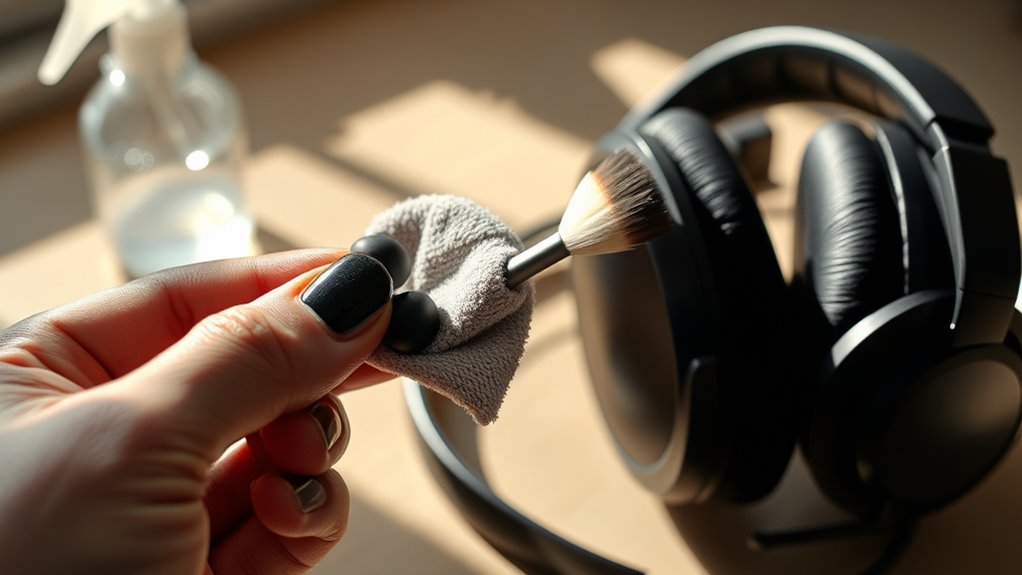
Wipe Down the Earbud and Headphone Surfaces
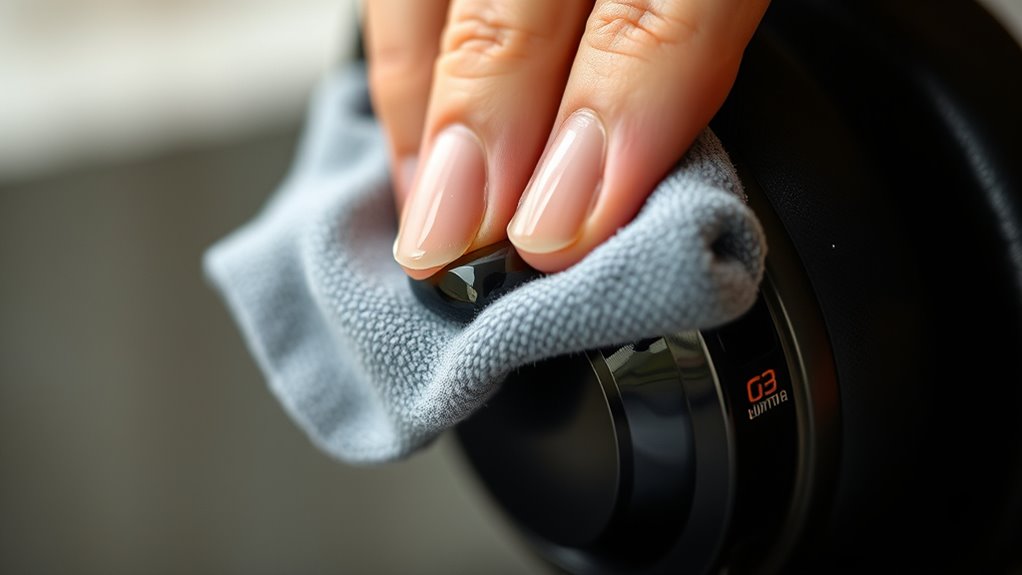
After ensuring your ear tips and cushions are clean, it’s important to focus on the surfaces of your earbuds and headphones. Use a soft microfiber cloth to gently wipe down all exterior surfaces, removing fingerprints, dirt, and oils. Microfiber cloths are ideal because they won’t scratch or damage delicate materials. Avoid abrasive cleaners or rough scrubbing, as these can harm the finish or internal components. If needed, slightly dampen the cloth with water or a gentle cleaning solution, but never let moisture seep into openings. Focus on the areas that come into contact with your skin and hands. Regular wiping helps maintain hygiene and keeps your devices looking new without risking damage. Proper Kia Tuning techniques ensure your device longevity and optimal performance.
Use Isopropyl Alcohol for Disinfection
Isopropyl alcohol is an effective disinfectant that can safely eliminate bacteria and germs from your earbuds and headphones when used properly. To guarantee proper disinfection techniques, dampen a soft cloth or cotton swab with a small amount of alcohol—avoid pouring it directly onto your devices. Gently wipe down surfaces, paying attention to areas with visible dirt or buildup. It’s important to follow alcohol safety guidelines, such as using a concentration of 70% or higher and avoiding excessive moisture. Never submerge your earbuds or headphones in alcohol, as this can damage electronics. Using isopropyl alcohol correctly helps sanitize your devices without risking damage, ensuring they stay clean and safe to use. Always let your devices air dry completely before using them again. Proper disinfection also contributes to the on-device AI capabilities by maintaining optimal device performance and hygiene.
Clean the Audio Jack and Charging Port
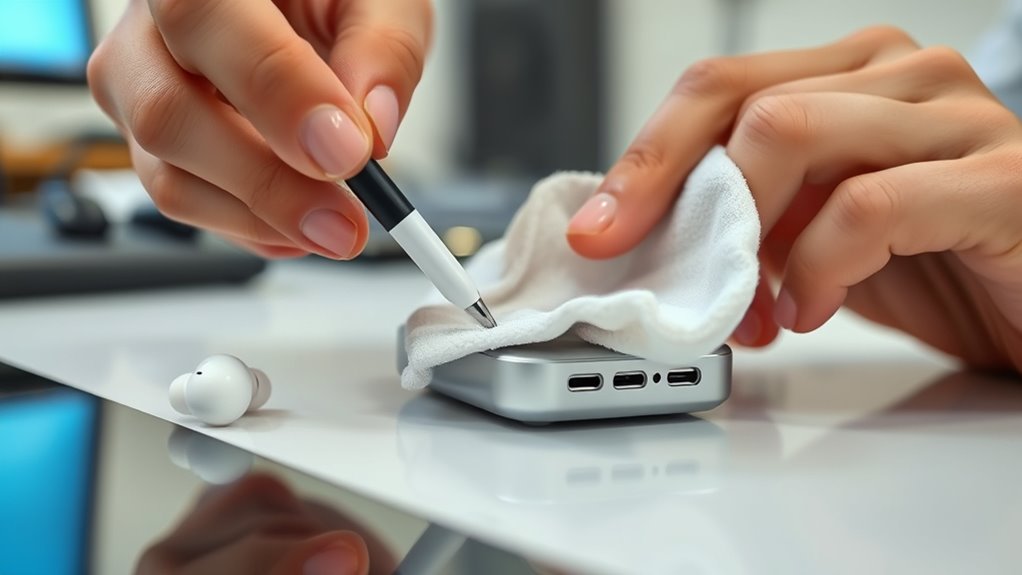
To keep your audio jack and charging port clean, use soft tools like a toothbrush or a toothpick to remove debris gently. Be careful to avoid liquid damage by never pouring or spraying liquids directly into the ports. Regular maintenance, such as cleaning once a month, helps prevent buildup and keeps your devices working smoothly.
Use Soft Tools
Using soft tools is essential for cleaning the audio jack and charging port without causing damage. A soft brush gently loosens debris, while a plastic scraper can carefully remove stubborn dirt. These tools prevent scratches or pushing debris further inside. When cleaning, choose tools that are gentle yet effective. Here’s a helpful guide:
| Tool | Purpose | Best For |
|---|---|---|
| Soft brush | Loosening dust and lint | Internal surfaces |
| Plastic scraper | Removing hardened debris | Stubborn dirt |
| Cotton swab | Precise cleaning around edges | Tight spots |
| Toothpick | Dislodging debris in corners | Deep crevices |
| Microfiber cloth | Wiping remaining dust | External surfaces |
Using these soft tools guarantees safe, thorough cleaning without risking damage to delicate components. Proper knowledge of device maintenance can enhance cleaning effectiveness and prolong your earbud lifespan.
Avoid Liquid Damage
Liquid damage can severely harm your earbuds and headphones, so it’s crucial to keep liquids away from the audio jack and charging port. Even devices with water resistance aren’t completely waterproof, so avoid exposing these areas to moisture. To guarantee electronic safety, never insert liquids directly into the ports. Instead, use a dry, soft brush or compressed air to remove dust and debris. If you notice moisture, turn off your device immediately and let it dry completely before reconnecting or charging. Be cautious about cleaning with liquids near these openings, as excess moisture can seep inside and cause damage. Keeping the ports dry maintains their functionality and prolongs your device’s lifespan. Remember, preventing liquid intrusion is the best way to protect your earbuds and headphones from costly repairs. Additionally, understanding the importance of device protection techniques can help in maintaining your electronics in good condition over time.
Regular Maintenance Tips
Regularly cleaning the audio jack and charging port helps guarantee your earbuds and headphones stay in ideal working condition. Earwax buildup can block connections, causing sound issues or charging problems. Use a dry, soft brush or a toothpick to gently remove debris. Avoid liquids that could damage internal components. Here’s a quick maintenance table:
| Step | Action | Tips |
|---|---|---|
| Clean the port | Gently remove debris | Use compressed air |
| Check for earwax | Clear earwax buildup | Use a dry brush |
| Maintain battery life | Keep ports clean to ensure proper charging | Regular cleaning helps battery tips |
Keeping ports clean prevents connection issues and extends device longevity, saving you time and frustration. Proper maintenance of device connectivity is essential for optimal performance and durability.
Dry and Reassemble Your Devices
Make certain your earbuds and headphones are completely dry before reassembling them to prevent damage. Carefully put the parts back together, handling each piece gently. Once reassembled, test your devices to ensure they work properly before using them again. Incorporating ergonomic practices can also help prolong the lifespan of your devices and maintain comfort during use.
Proper Drying Methods
After removing your earbuds or headphones from the drying area, it’s important to verify they are completely dry before reassembling. Good airflow circulation helps accelerate moisture evaporation, preventing lingering dampness that could damage internal components. Gently shake or tap your devices to loosen any trapped water and then place them in a well-ventilated area. Avoid direct sunlight or heat sources, as excessive heat can warp or damage parts. Allow sufficient time for moisture to escape naturally, checking periodically for dryness. Patience is key—rushing the process may cause residual moisture to remain, risking damage when you power on your devices. Ensuring proper device maintenance can prolong the lifespan of your earbuds or headphones. Once you’re confident they’re fully dry, you can proceed confidently to reassemble your earbuds or headphones.
Reassemble Carefully
Once you’re confident your earbuds or headphones are completely dry, carefully reassemble them to prevent any damage. During device disassembly, handle each component gently to avoid breaking fragile parts. Make certain that all internal parts are aligned correctly and seated properly before putting the device back together. If you noticed any damaged or worn components during cleaning, this is the time to think about component replacement to maintain ideal performance. Take your time and double-check connections, especially in tight spaces or small parts. Avoid forcing parts into place, as this can cause damage. Proper reassembly ensures your device functions as intended and prolongs its lifespan. Handle every piece with care, and don’t rush the process for the best results. Ensuring proper reassembly also helps maintain the device’s overall air quality and performance.
Test Before Use
Before plugging in or using your earbuds or headphones, it’s essential to thoroughly test them to guarantee they’re dry and correctly assembled. Start by checking the battery life to ensure your device has sufficient charge for *ideal* performance. Next, test the sound quality by playing your favorite audio to confirm everything sounds clear and balanced. Listen for any distortions or issues that might have arisen during cleaning or reassembly. Make sure all parts are securely connected and properly aligned, avoiding any loose components. If your device has a power button or controls, verify they respond correctly. Taking these steps helps prevent potential damage and *assures* your earbuds or headphones deliver the best possible audio experience every time you use them. Additionally, conducting a professional testing process can help identify any underlying issues that might not be immediately apparent.
Establish a Regular Cleaning Routine
Establishing a regular cleaning routine for your earbuds and headphones helps prevent dirt, bacteria, and earwax buildup that can affect sound quality and hygiene. Creating a consistent daily schedule guarantees you don’t forget to clean them regularly. Set specific times, like after workouts or daily use, to maintain your cleaning schedule. This routine keeps your devices free from debris and reduces the risk of infections. Use gentle cleaning methods, such as wiping with a microfiber cloth and avoiding harsh chemicals. Regular maintenance also prolongs the lifespan of your earbuds and headphones. Monitoring your payment security practices can help protect your devices from potential data breaches. By sticking to a routine, you’ll enjoy clearer sound and better hygiene without much effort. Incorporate these habits into your daily life for hassle-free, safe cleaning.
Frequently Asked Questions
Can I Use Household Cleaning Products on Earbuds?
No, you shouldn’t use household chemicals on earbuds, as improper cleaning can damage them. Household cleaning products often contain harsh chemicals that may harm the delicate materials or cause corrosion. Instead, use a soft, damp cloth or a gentle alcohol wipe to clean your earbuds safely. This way, you avoid the risks associated with improper cleaning and keep your earbuds in good condition.
How Often Should I Clean My Earbuds for Optimal Hygiene?
You should clean your earbuds weekly to prevent earwax buildup and maintain good hygiene. Coincidentally, neglecting this can lead to discomfort and potential infections. Regular cleaning guarantees sound quality and prolongs device lifespan. If you notice more dirt or earwax, increase cleaning frequency; otherwise, once a week suffices. Consistent hygiene habits keep your earbuds fresh and safe for everyday use, making your listening experience more enjoyable.
Are There Any Materials I Should Avoid When Cleaning?
When doing earbud cleaning, avoid harsh cleaning materials like alcohol, bleach, or abrasive cleaners, as they can damage your earbuds. Stick to soft, lint-free cloths, mild soap, or isopropyl alcohol in small amounts. You should also steer clear of water getting into the drivers or electrical components. Using gentle, appropriate cleaning materials guarantees your earbuds stay safe and functional without risking damage during earbud cleaning.
What’s the Safest Way to Disinfect Earbuds Without Damage?
Don’t throw caution to the wind when disinfecting your earbuds. To do it safely, gently remove earwax with a soft brush or cloth, avoiding harsh materials. Use a small amount of isopropyl alcohol (70%) on a microfiber cloth to clean surfaces, but never dunk them in liquid. This way, you disinfect effectively without risking damage, and you keep your earbuds fresh and safe for daily use.
Can Cleaning Harm the Electronic Components of My Headphones?
Cleaning your headphones can cause electronic damage if you’re not careful, especially when using liquids directly on components. To guarantee component safety, avoid getting moisture into the openings or internal parts. Use a dry cloth or lightly dampen a cloth with alcohol-based wipes, and never immerse your headphones in water. Taking these precautions helps prevent electronic damage and keeps your headphones working properly over time.
Conclusion
So, after all that careful cleaning, don’t forget: your earbuds and headphones probably need just as much love as your social life. Ironically, the dirtier they get, the more you’ll want to keep them spotless. But hey, a little routine maintenance now means fewer surprises—like unexpected squeaks or the sudden silence of your favorite tune. So go ahead, clean away, and enjoy crystal-clear sound… until next time when they inevitably need another spa day.